Building Oh Dear’s new design: Project setup
Published on April 8, 2022 by Nick Retel
We are currently rebuilding the Oh Dear website and application frontend. The goal is to go next level in aesthetics and user experience. The Oh Dear redesign will be launched later this year.
In this post, you'll read more about the project setup and tools used. This is the first blog post of a series that will share progress and the knowledge gained along the way.
Creating the design #
To help us come with the new design, we called upon the talented team of Digital With You - DWY.
They first gave the Oh Dear branding a make-over and then redesigned every page from the ground up. We will dedicate a separate blog post about how the new branding came to be.
With the design being finished for about 95%, it was time to start building. We started with going through the project setup and making adjustments where needed. Let's dig in.
Two apps in one #
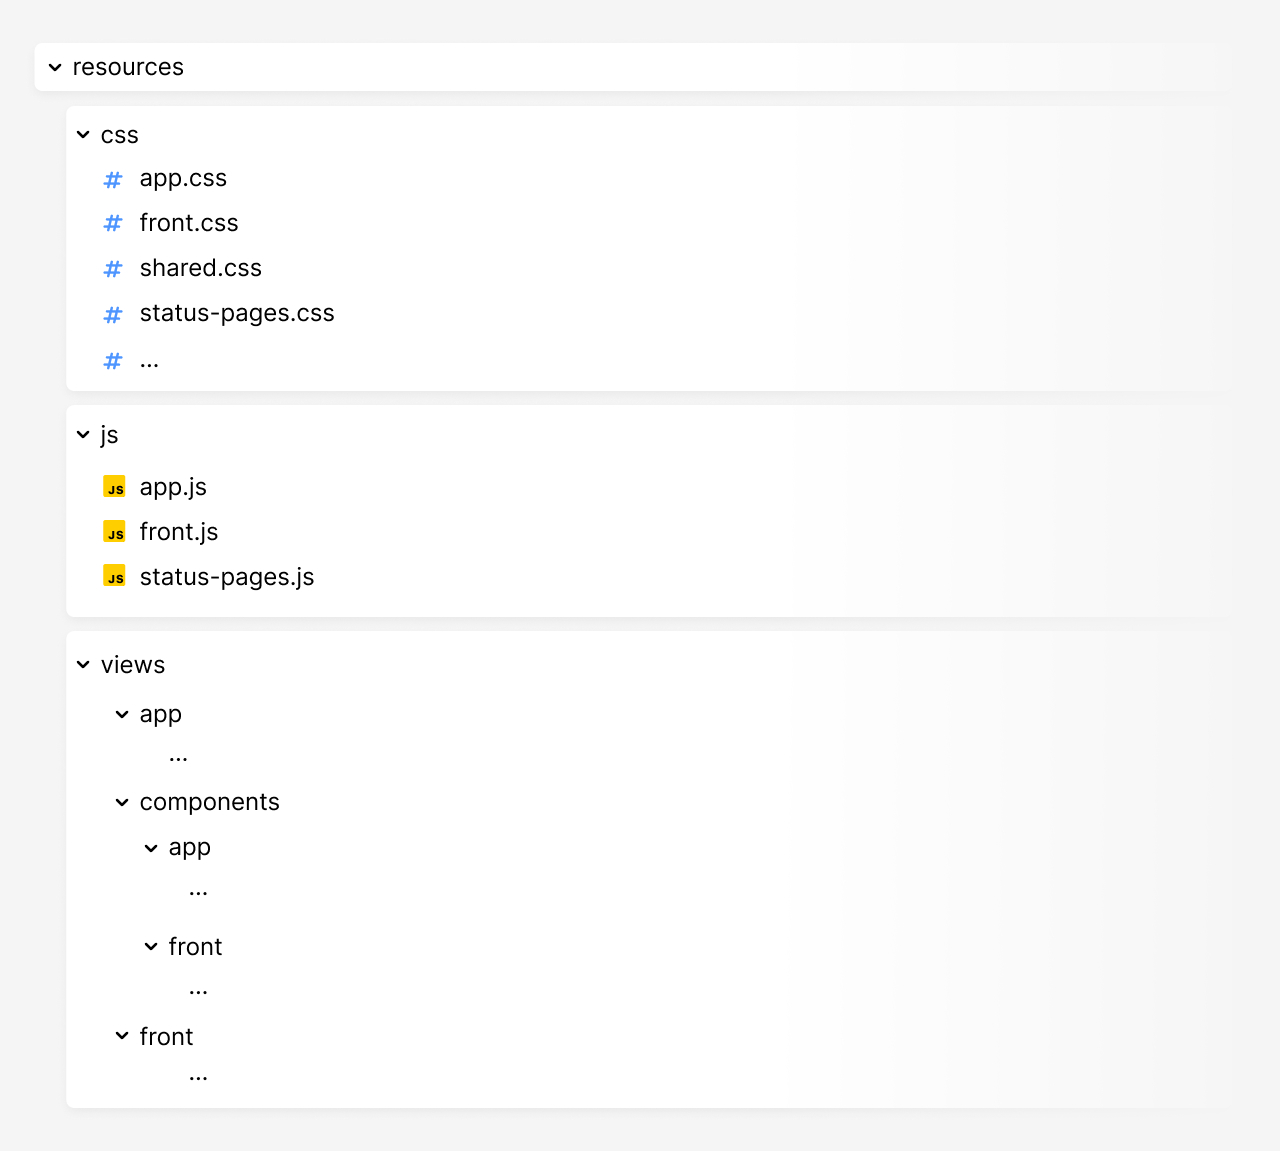
The Oh Dear project mainly consists of two parts: the marketing website and the application. They both live in the same Laravel project but are separated by their own Blade files, CSS and JS bundles. Both parts share some resources such as buttons, gradients, and JS logic, and those resources are stored in a shared folder. The project structure looks something like this:

Using Laravel Mix, we can generate optimized bundles for each part of the project and have complete control of what is included in each bundle. Our webpack.mix.js file looks something like this:
const mix = require('laravel-mix');

mix.js('resources/js/front.js', 'public/js')
    .js('resources/js/app.js', 'public/js')
    .js('resources/js/status-page.js', 'public/js')
    .postCss('resources/css/app/app.css', 'public/css', [
        require('tailwindcss')({
            content: [
                ...
            ],
            ...require('./tailwind.config.js'),
        }),
    ])
    .postCss('resources/css/front/front.css', 'public/css', [
        require('tailwindcss')({
            content: [
                ...
            ],
            ...require('./tailwind.config.js'),
        }),
    ])
    .postCss('resources/css/status-page/status-page.css', 'public/css', [
        require('tailwindcss')({
            content: [
				...
			],
            ...require('./tailwind.config.js'),
        }),
    ]);

mix.version();
As you can see, we end up with a dedicated front and app JS and CSS files. As the status pages are isolated from the front and the app, we generate specific bundles for that as well. This helps reduce the loading time of the status pages and make them feel as snappy as possible.
Using the TALL stack #
Both parts of the project are made out of php and blade files. This makes it ideal for applying the TALL stack, being Tailwind CSS, AlpineJS, Laravel and Livewire. The current version of Oh Dear is already using this stack, and the new design is being implemented with it as well.
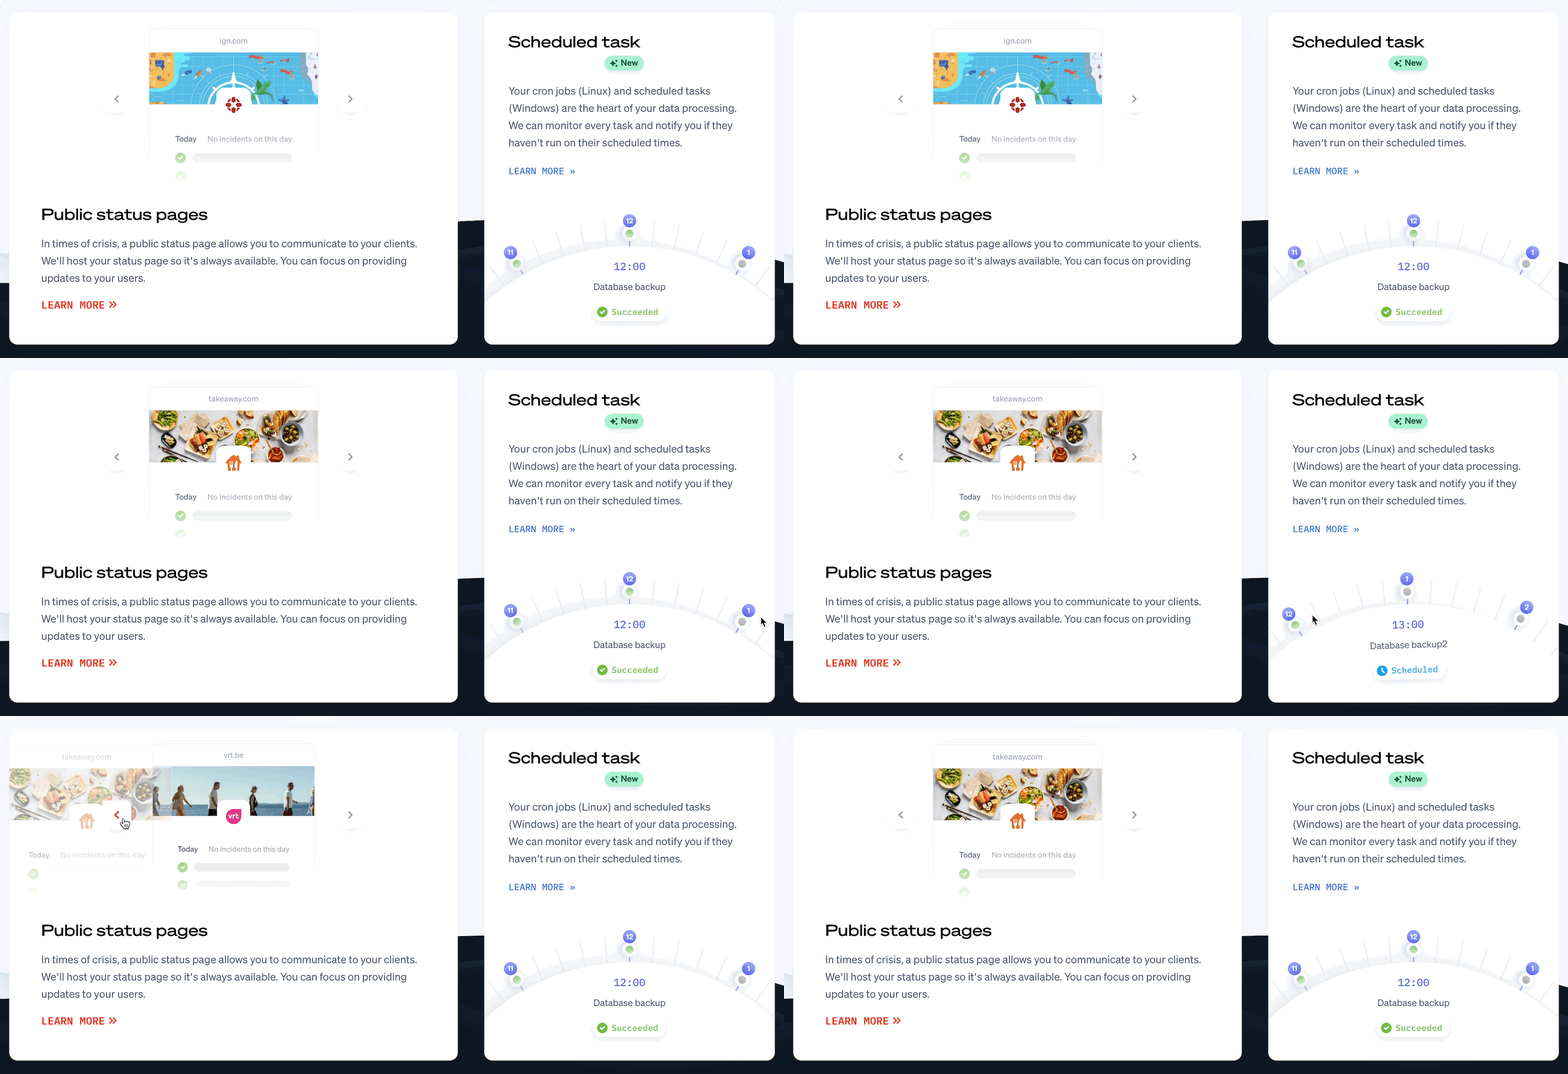
For the new design, there were many ideas to make each section of the home page and feature pages interactive. For those pages, we rely heavily on AlpineJS and Tailwind CSS, which is a golden combination to get the job done:


As AlpineJS is being used for the public-facing pages, we use Livewire for the more complex components on the application side.
Other tools being used #
For formatting our PHP code, we use PHP CS Fixer. Prettier is used for frontend files like JS and CSS. Unfortunately, there is still no good support for Blade/HTML, we format those files by hand.
The formatting is being automated as much as possible. For example, upon committing code, we trigger Prettier via a pre-commit hook powered by Husky. PHP CS fixer is being applied via GitHub actions.
I can highly recommend setting up PHP CS Fixer and Prettier locally, as you can set those up to be triggered when saving a file. This saves a lot of time thinking about formatting and lets you enjoy nicely formatted code instantly. When setting up PHP CS Fixer or wanting to tweak your current config, make sure to check out the config provided by Laravel Shift. That config is very extensive and provides a great starting point, and it might be all you need.
How we used Git #
As mentioned, we use GitHub for version control. The new design is being developed on a dedicated branch. This is where I do most of my work, as I'm responsible for implementing the new design. Every day when I work on Oh Dear I branch off from the design branch. At the end of the day I make a PR and merge the changes into the redesign branch. This gives me a clean starting point each day while Mattias and Freek can more easily keep track of what I've been adding.
Freek keeps the redesign branch up to date with changes being applied to the main branch. For example, he updated the Nova installation to V4 this week and recently updated all tests from PHPUnit to PEST. He then makes sure those changes also get merged into the redesign branch. The goal is to end up with a branch that has no merge conflicts with the main branch and can eventually be merged without problems. Spoiler alert: there is still a lot of work to be done to get to that point :)
Closing thoughts #
As you might have noticed, the project setup is not overly complex. This is the result of the excellent work that has been put into the Laravel framework and tools like TailwindCSS, AlpineJS and Livewire. The real complexity for Oh Dear lies within the code and the database structure.
In future blog posts, we will go into more detail about implementing the design. We'd love to hear what you think of it. If there is anything you'd like to know more about, feel free to ask it on Twitter.


