Building Oh Dear’s new design: Creating a color system, why and how
Published on May 20, 2022 by Nick Retel

In the previous blog post I talked about how we are implementing the Oh Dear redesign. In this post I go into more detail on why and how we implemented a tailwind-like color system which supports all the colours used throughout the redesign.
From Sketch to code #
One of the tasks that needs to be done to go from design to code is extracting the colours used in the design. In our case, the designer already put together a specific palette of colours and defined it within the Sketch file. We copied over those colours and renamed them a bit so they fit nicely in our tailwind.config.js.
extend: {
	colors: {
		'bg-blue': '#...',
		'darkish-blue': '#...',
		divide: '#...',
		whiteish: '#...',
		green: '#...',
        ...
	},
	...
}
Not all colours were named
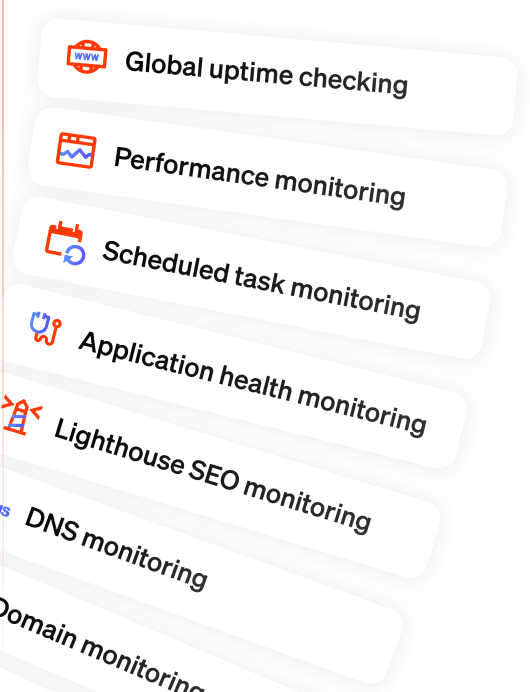
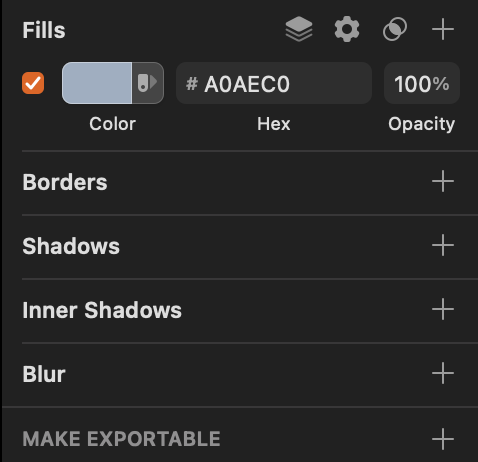
While implementing the design, more and more colours kept popping up that were defined in the inspector as a plain hex code, instead of a named color.
As we already had to rename the tracked colours, I didn’t think it would be helpful to ask to designer to go through the document and give every specific color a name. We would have to know the desired naming pattern and we didn’t know what would be the best approach.
The design is also very complex with a lot of gradients and nuances created by use of different opacities. Going through all the layers and track all those colours would be very time consuming. We decided to leave the document as is and look for another alternative.
Tailwind to the rescue, or not?
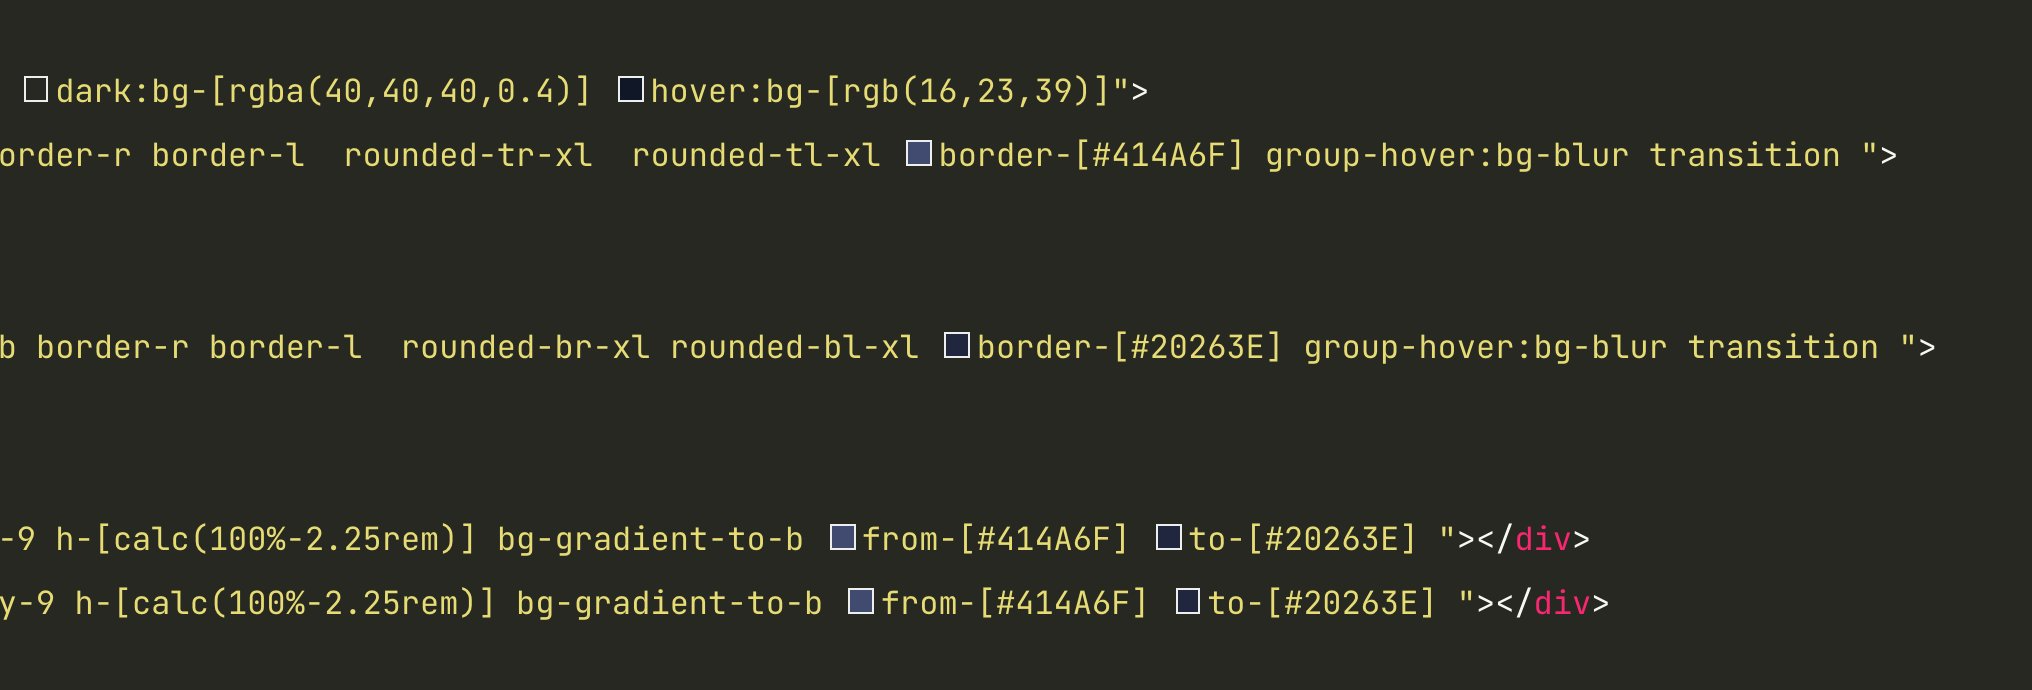
The first solution we ended up with was using tailwind classes with arbitrary values like text-[#0C0515] or bg-[#0C0515], which is supported since [JIT mode]. This made it really easy to give an element a very specific color without the need to think of a name and having to define it in the tailwind config file. This felt like a real time-saver.
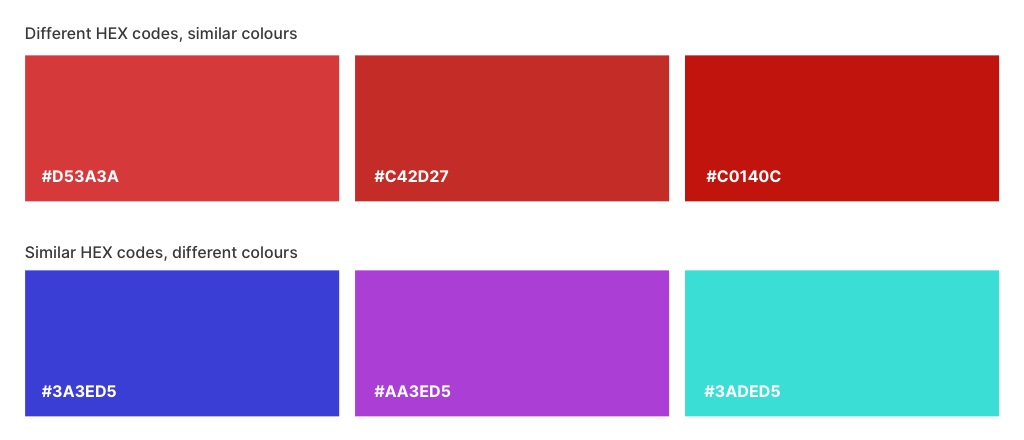
Although this worked well at the beginning we started to discover more and more colours that kind of looked the same but had a different hex code. As hex codes can vary a lot, while looking visually the same, and vice versa, it wasn’t easy to search occurrences of previously used hex codes that were close to a specific color.
This also resulted in code that was flooded with arbitrary values that didn’t make the use of color much consistent. Dark mode was also on the list of features to implement, and adding dark mode specific hex codes wouldn’t make it any cleaner.
Difficulty of going a shade lighter or darker
Another difficulty we faced was the ability to play with a slightly lighter of darker shade. Sometimes a different colour would look better on the web compared to what was used in the design. To do that we adjusted the hex code, which then turned into yet another unique arbitrary value. We figured that having all those arbitrary values would lead to more inconsistencies and a bigger than necessary css bundle housing all those colours.
At this point we thought it would be great if we could use Tailwind’s colour system. Going a shade lighter or darker is as easy as lowering or increasing the number in the class. For example text-blue-500 is lighter than text-blue-600. There was only one problem, the standard colours didn’t match the used colours in the design. So we had to extend the existing set of colours.
Creating our own color palettes #
We created our own color palettes through a series of easy to reproduce steps.
1. Index all colours
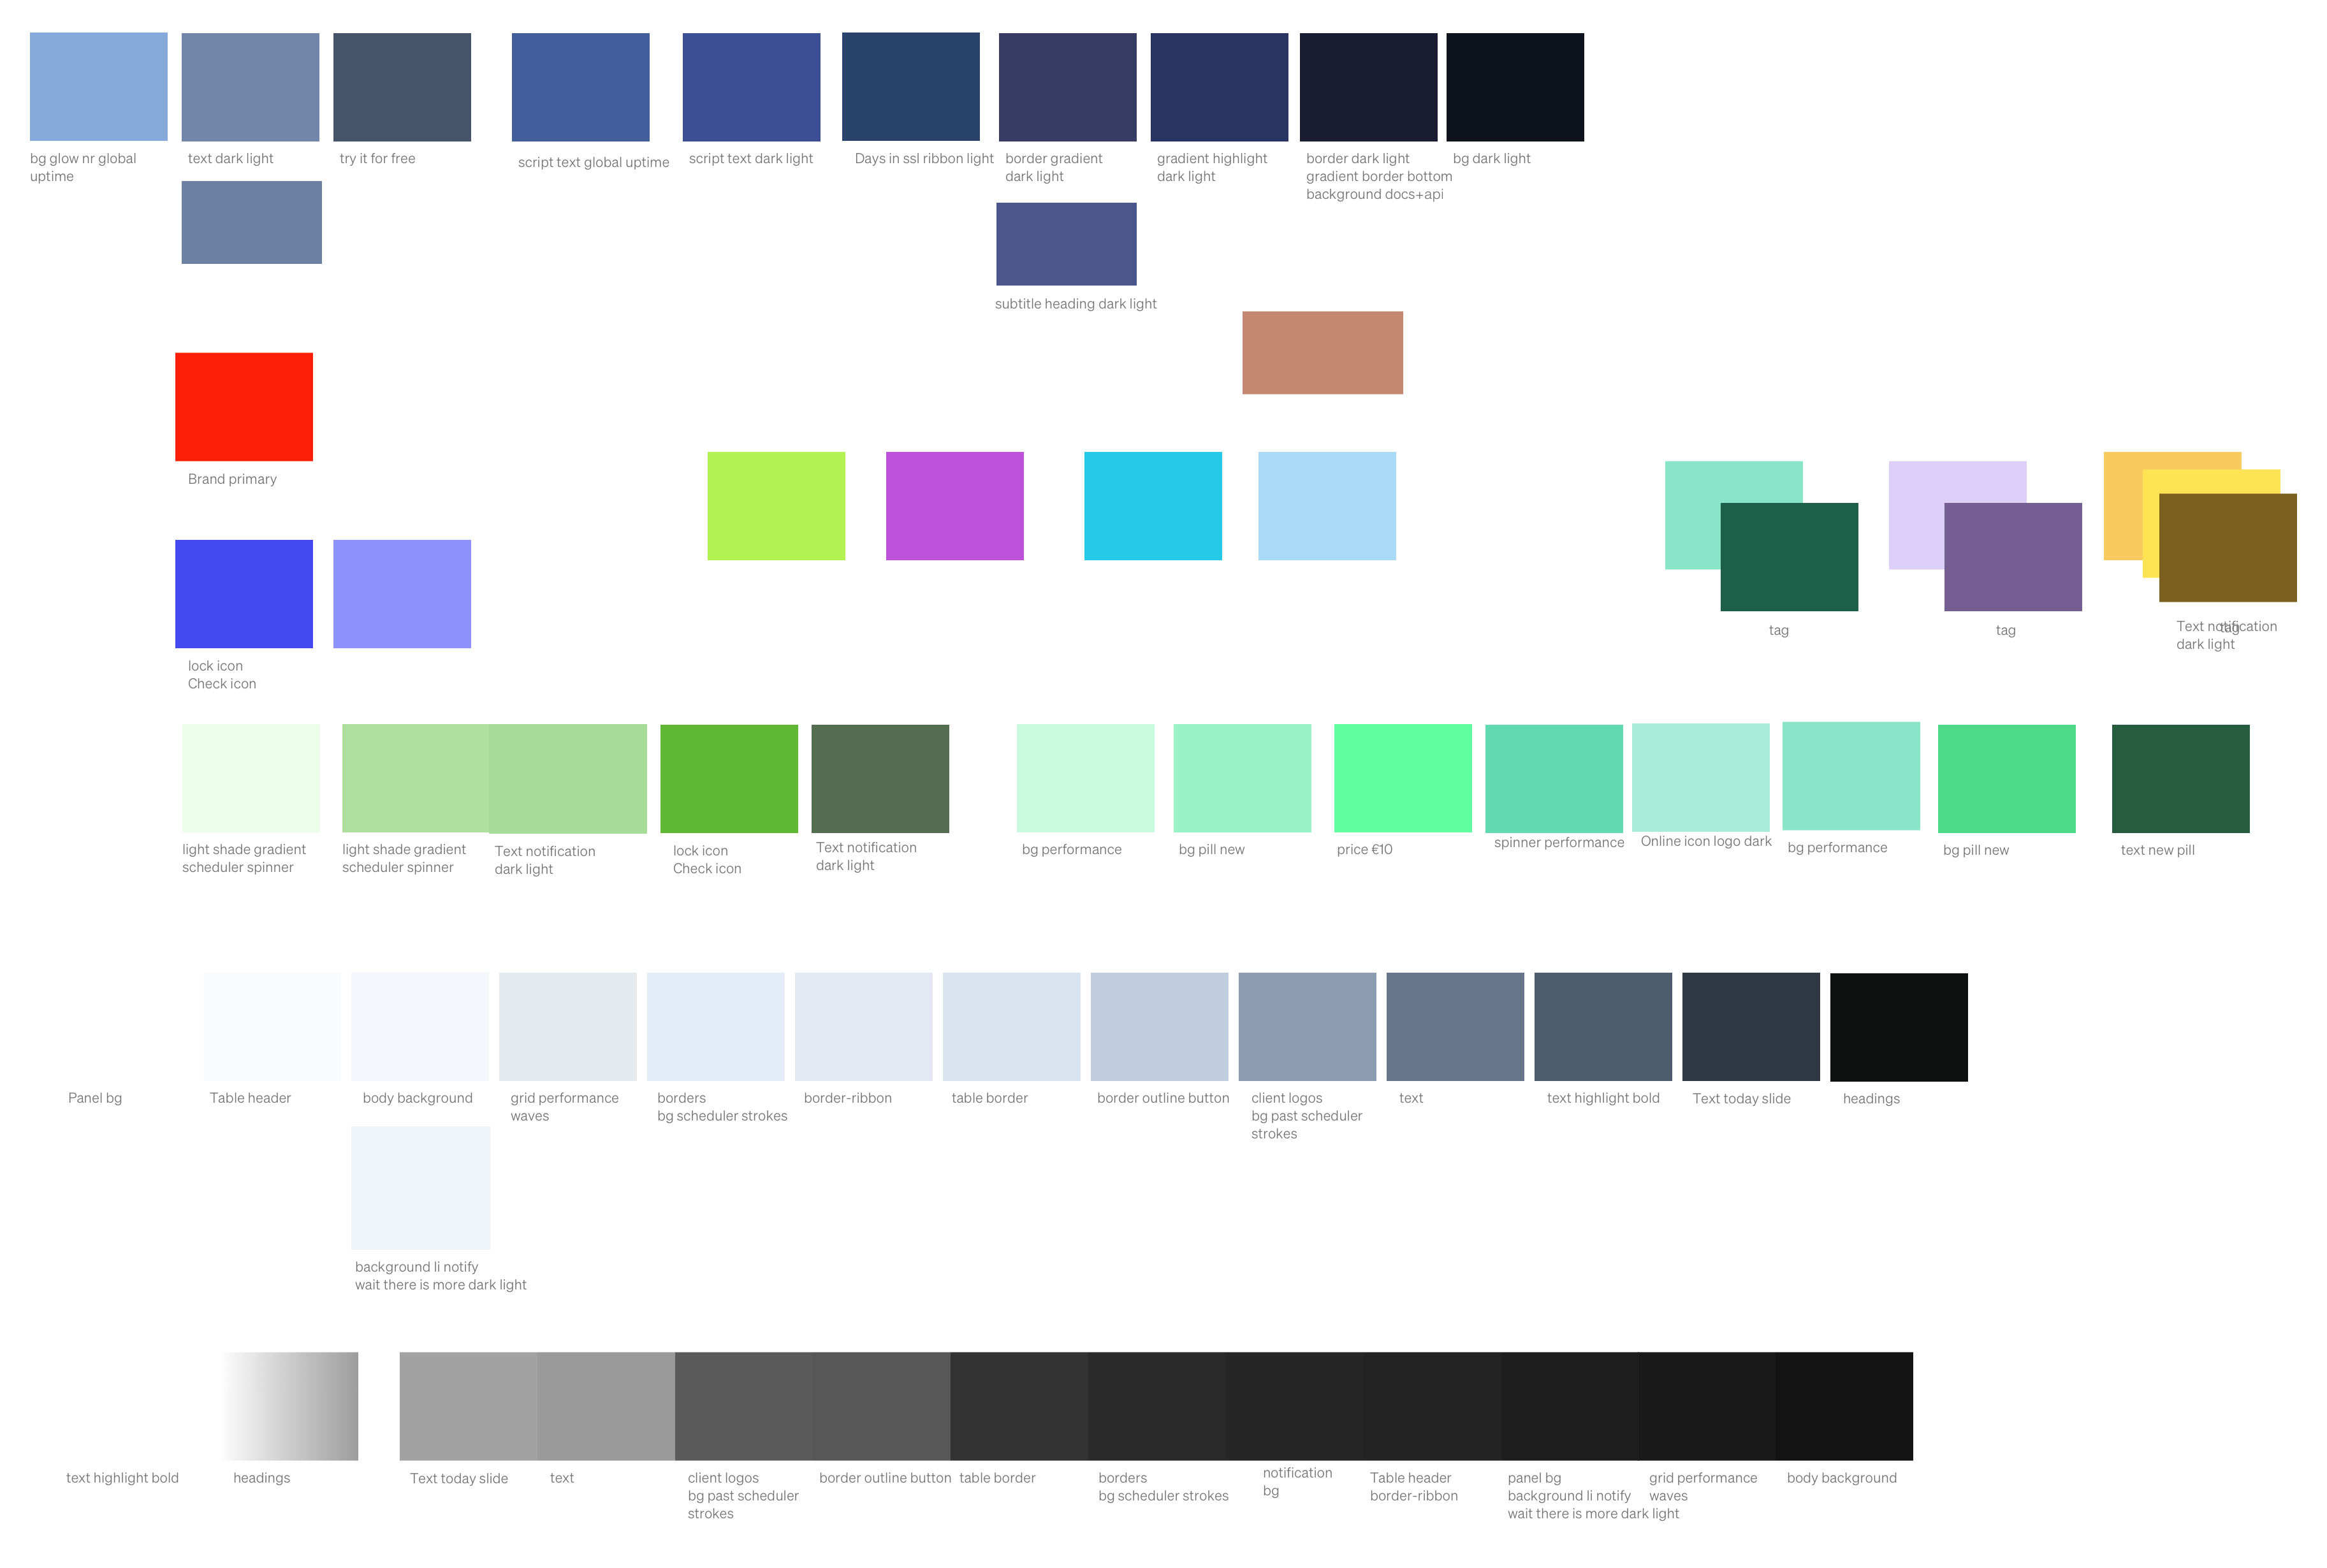
The first step we took was index all colours used in the design. And put them in a separate art-board in Sketch. We ended up with something like this:
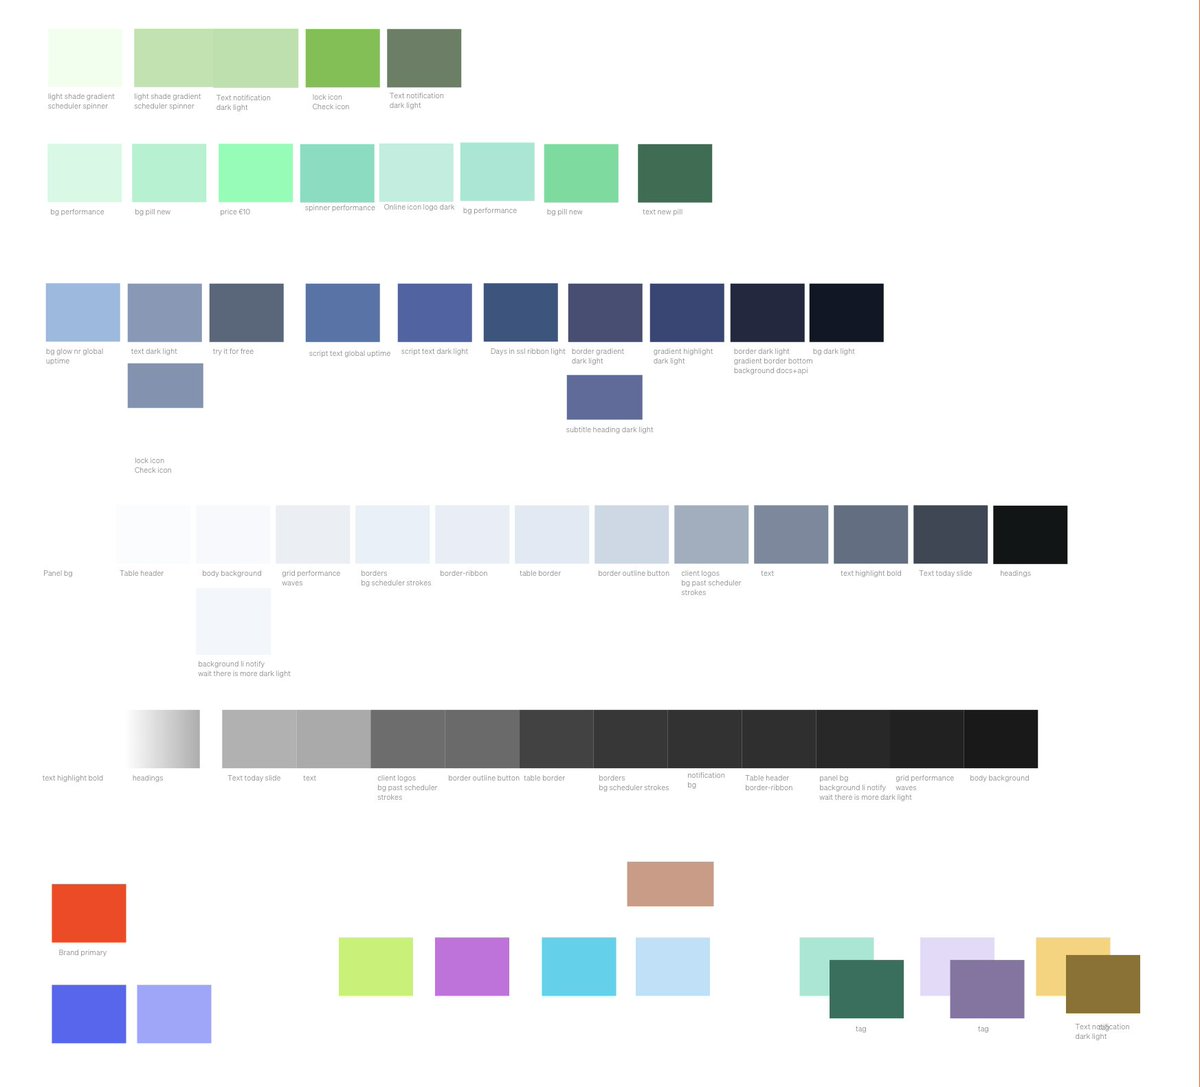
2. Group the colours
Next we grouped them by color, and we could already spot different colours that were almost similar and could be consolidated into a single color:
3. Fill in the blanks
After grouping them we started to order them from light to dark. As we didn’t have step-based shades for each colour yet we filled in the blanks where needed. We ended up with five base colours and a few specific colours with fewer shades:
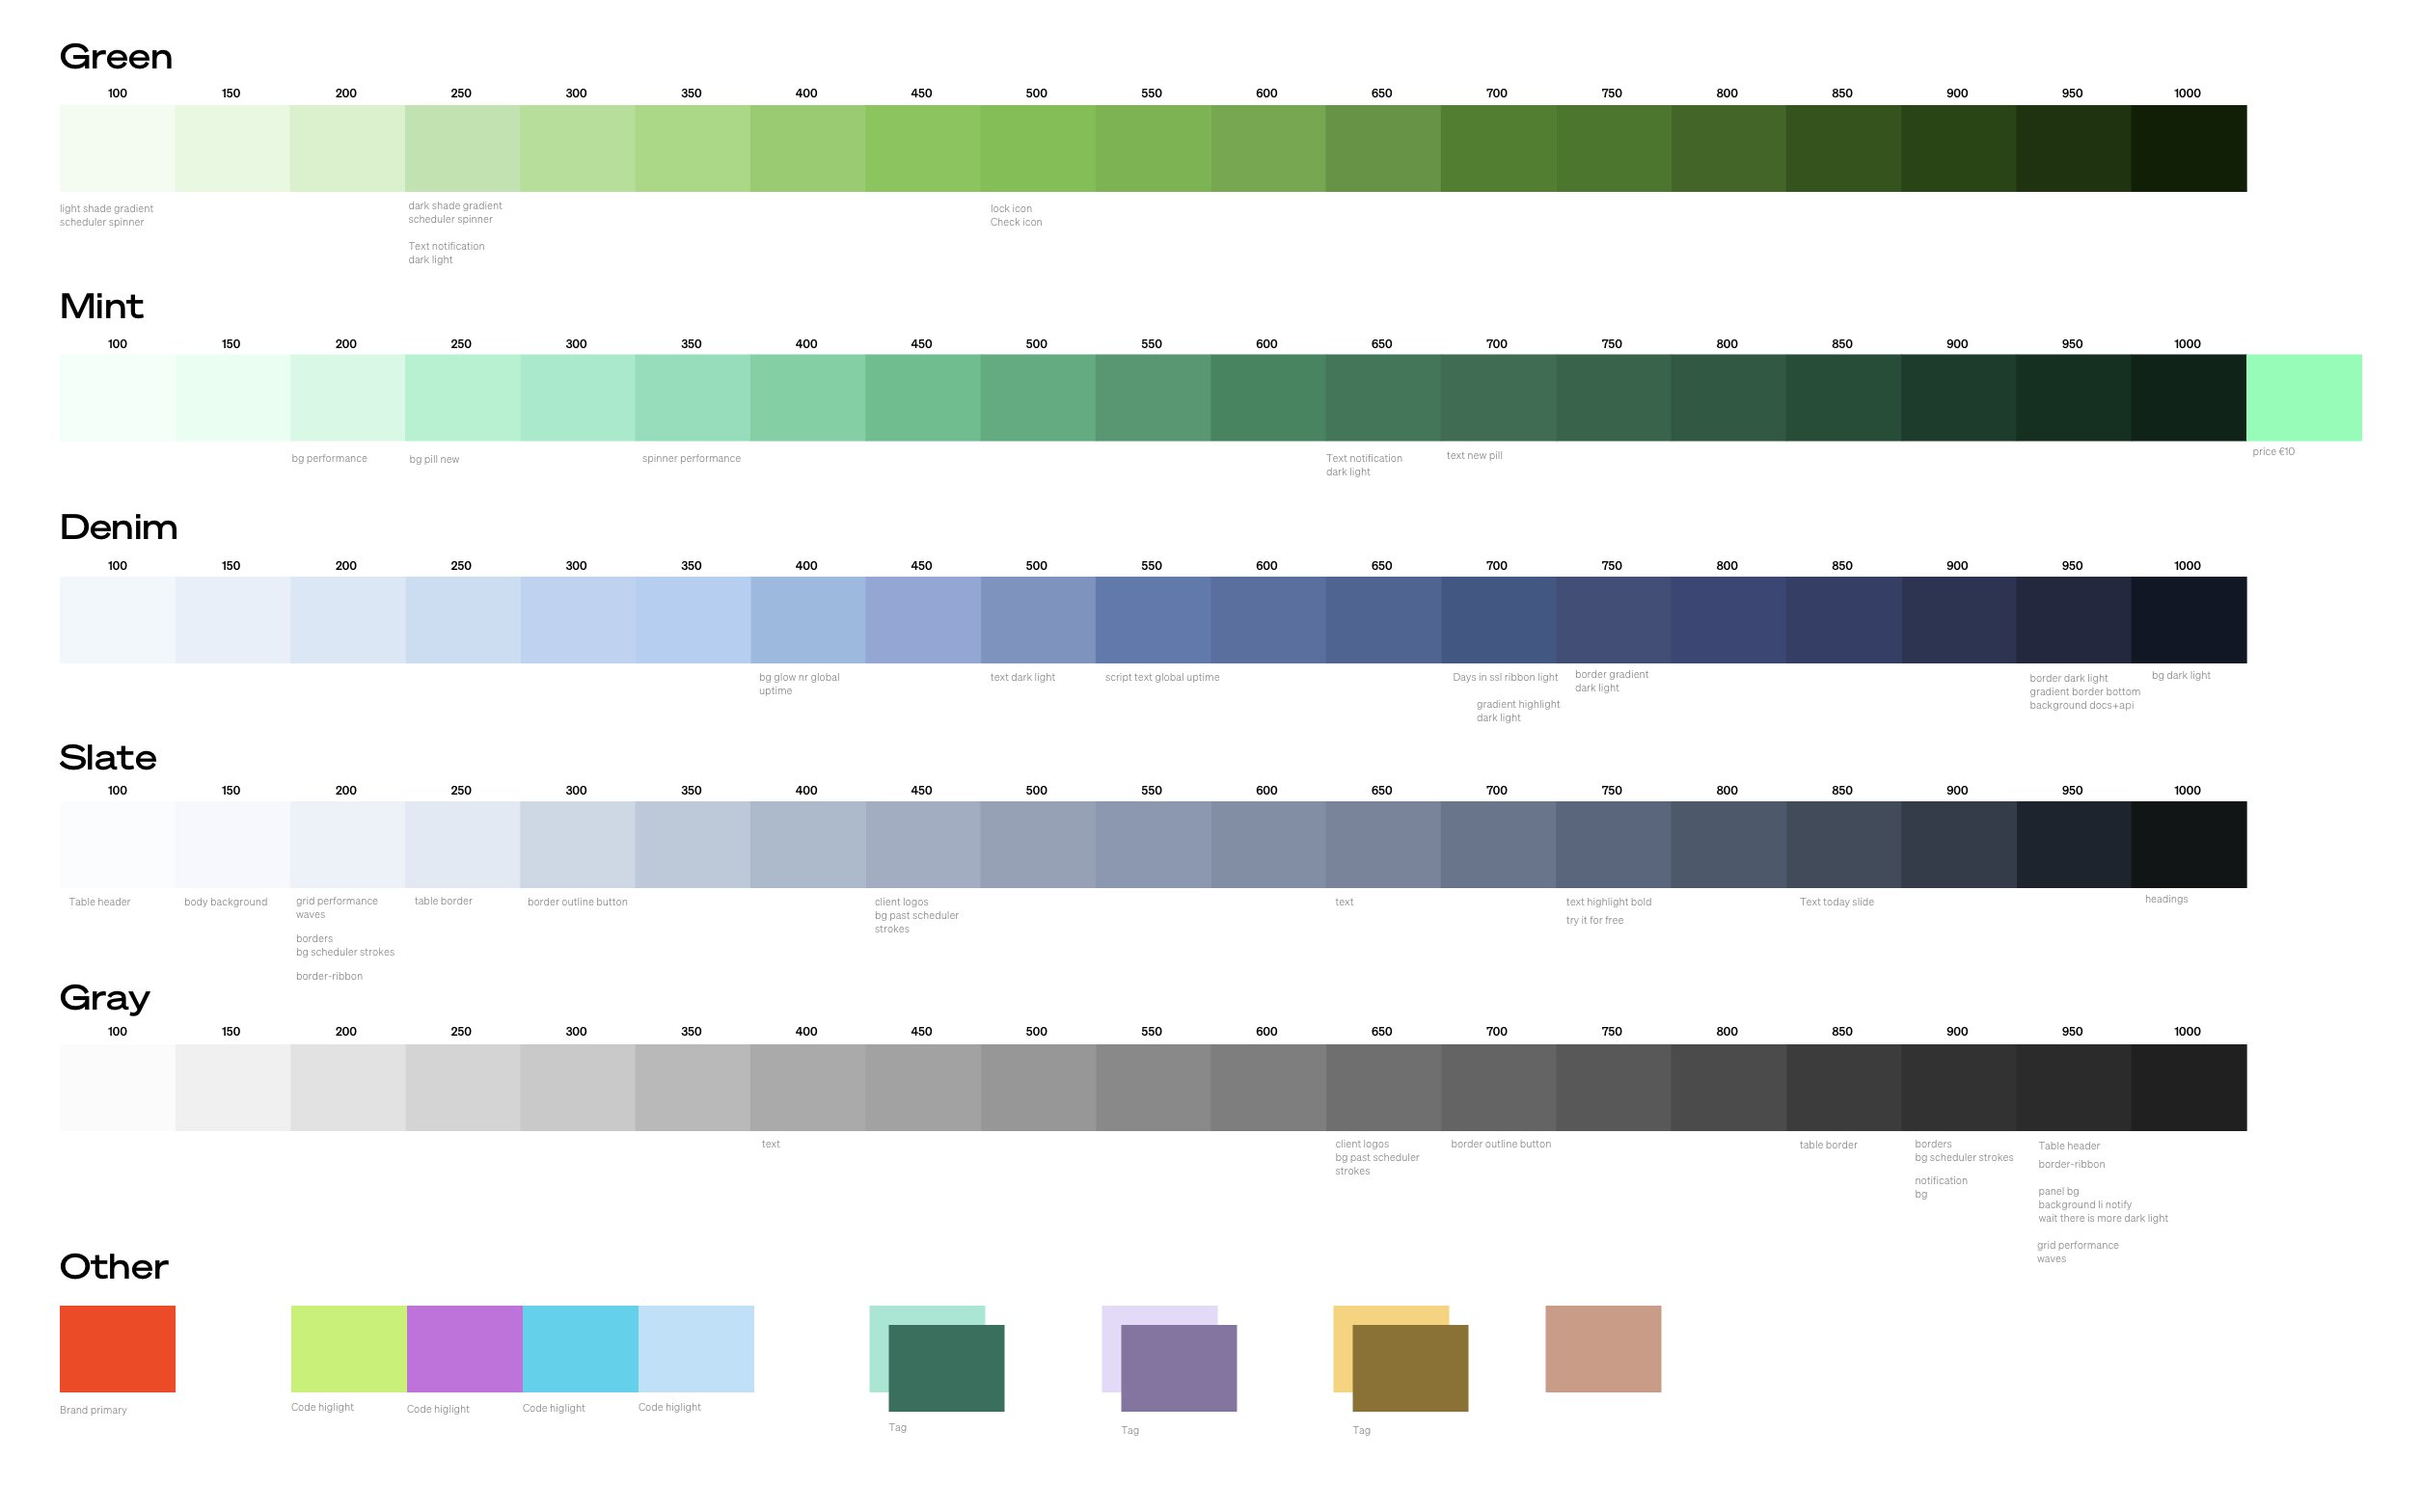
As you might notice we ended up with a higher resolution palette than the standard 9 shades per base color. This is because the design contained many colours that were slightly lighter or darker. We tried to replace a specific X50 for a X00 instead, but the difference in color was often too big. So we needed those subtle variations in shades and decided to create shades of the base colours in steps of 50 instead of 100.
But you won’t be using all those colours!
That’s true, but with Tailwind that’s not a problem. Thanks to the ability to purge all unused styles the final CSS bundle will be small no matter how much colours we define in the config.
The only downside is that your tailwind config can grow pretty large while having so many colours. If you would really dislike that you can always extract the colours to a separate file and then include that in the config file.
4. Import and replace
After having all the hex codes imported in the tailwind config we replaced all the hex codes in the html with the newly available color classes. The code now looked cleaner as the color + a number was more familiar than a hex code. It’s now also easier to play with the shades as we only need to increase or lower the number in the color class at the end by 50.
In conclusion #
The best way of exporting colours from design to code is very dependant on the tools and frameworks you use. In our case we use Tailwind as a CSS framework and we were already familiar with its color system. If you don’t use Tailwind a different approach might be better, although I could still see how the method described in this post can be applied on any project.
Creating the system was a bit tedious and time consuming. Most time was spent on ordering the colours and filling in the blanks which was done by hand. However, many weeks have been passed by now since implementing the color system and we are still very happy with it. It’s definitely an investment worth doing.
In the next post I will go into more detail on how we are implementing dark mode.
Do you have a question or feedback? Feel free to send a reply via Twitter.