Whitelist Oh Dear IPs or user agent in Cloudflare
If your site is behind Cloudflare, you may need to whitelist our traffic so your WAF doesn't block our checks. You can whitelist by either:
- Our user agent (
OhDear.app*), or - Our static IP addresses
Doing both is the most robust approach, which is what we'll cover here.
Step 1: Add Oh Dear's static IPs as a Cloudflare list #
Cloudflare lets you manage lists of IP addresses at the account level and reference them in any WAF rule.
In your Cloudflare dashboard, go to Manage Account > Configurations > Lists and click Create list.
Name the list something like oh_dear_static_ip_addresses, pick IP as the list type, and click Create.
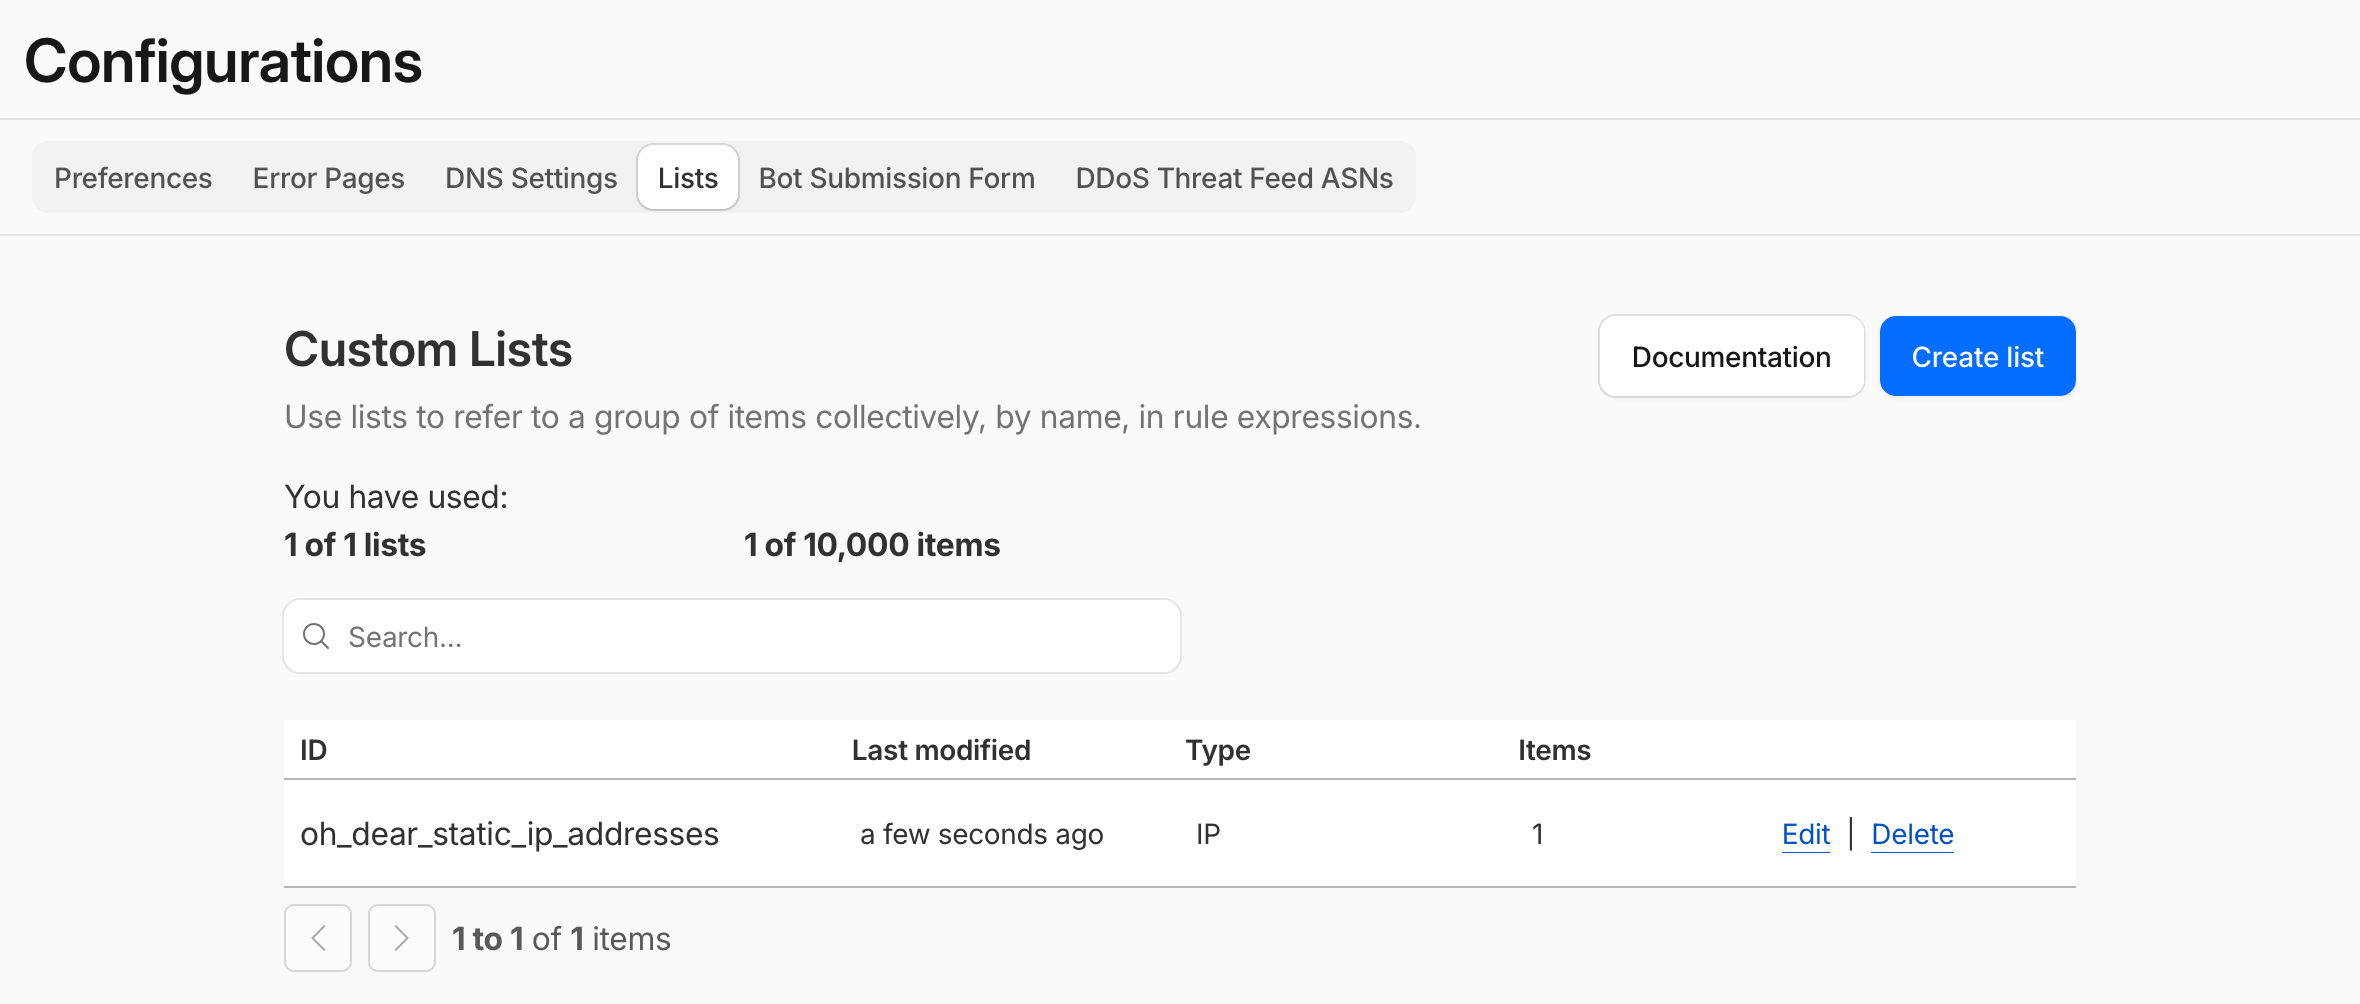
To populate the list, choose the Upload CSV option and upload our plain text IP list (save the page as .csv and reference that file). Cloudflare will pre-populate the IPs in the form.
Click Save when you're done.
Tip: our IP list can change when we add or retire a server. It's worth updating the list periodically, or automating the sync if you have many Cloudflare accounts to manage.
Step 2: Pick the domain to whitelist for #
Cloudflare WAF rules are configured per zone (per domain), so head to the specific domain you want to whitelist Oh Dear on. If you have multiple domains monitored through Oh Dear, repeat these steps for each one.
Step 3: Create a custom WAF rule #
Go to Security > Security rules in the left-hand menu and click + Create rule.
In the When incoming requests match section, add two conditions combined with AND:
- User Agent, wildcard,
OhDear.app* - IP Source Address, is in list, reference the list you created earlier
The final expression looks like this:
(http.user_agent wildcard r"OhDear.app*" and ip.src in $oh_dear_static_ip_addresses)
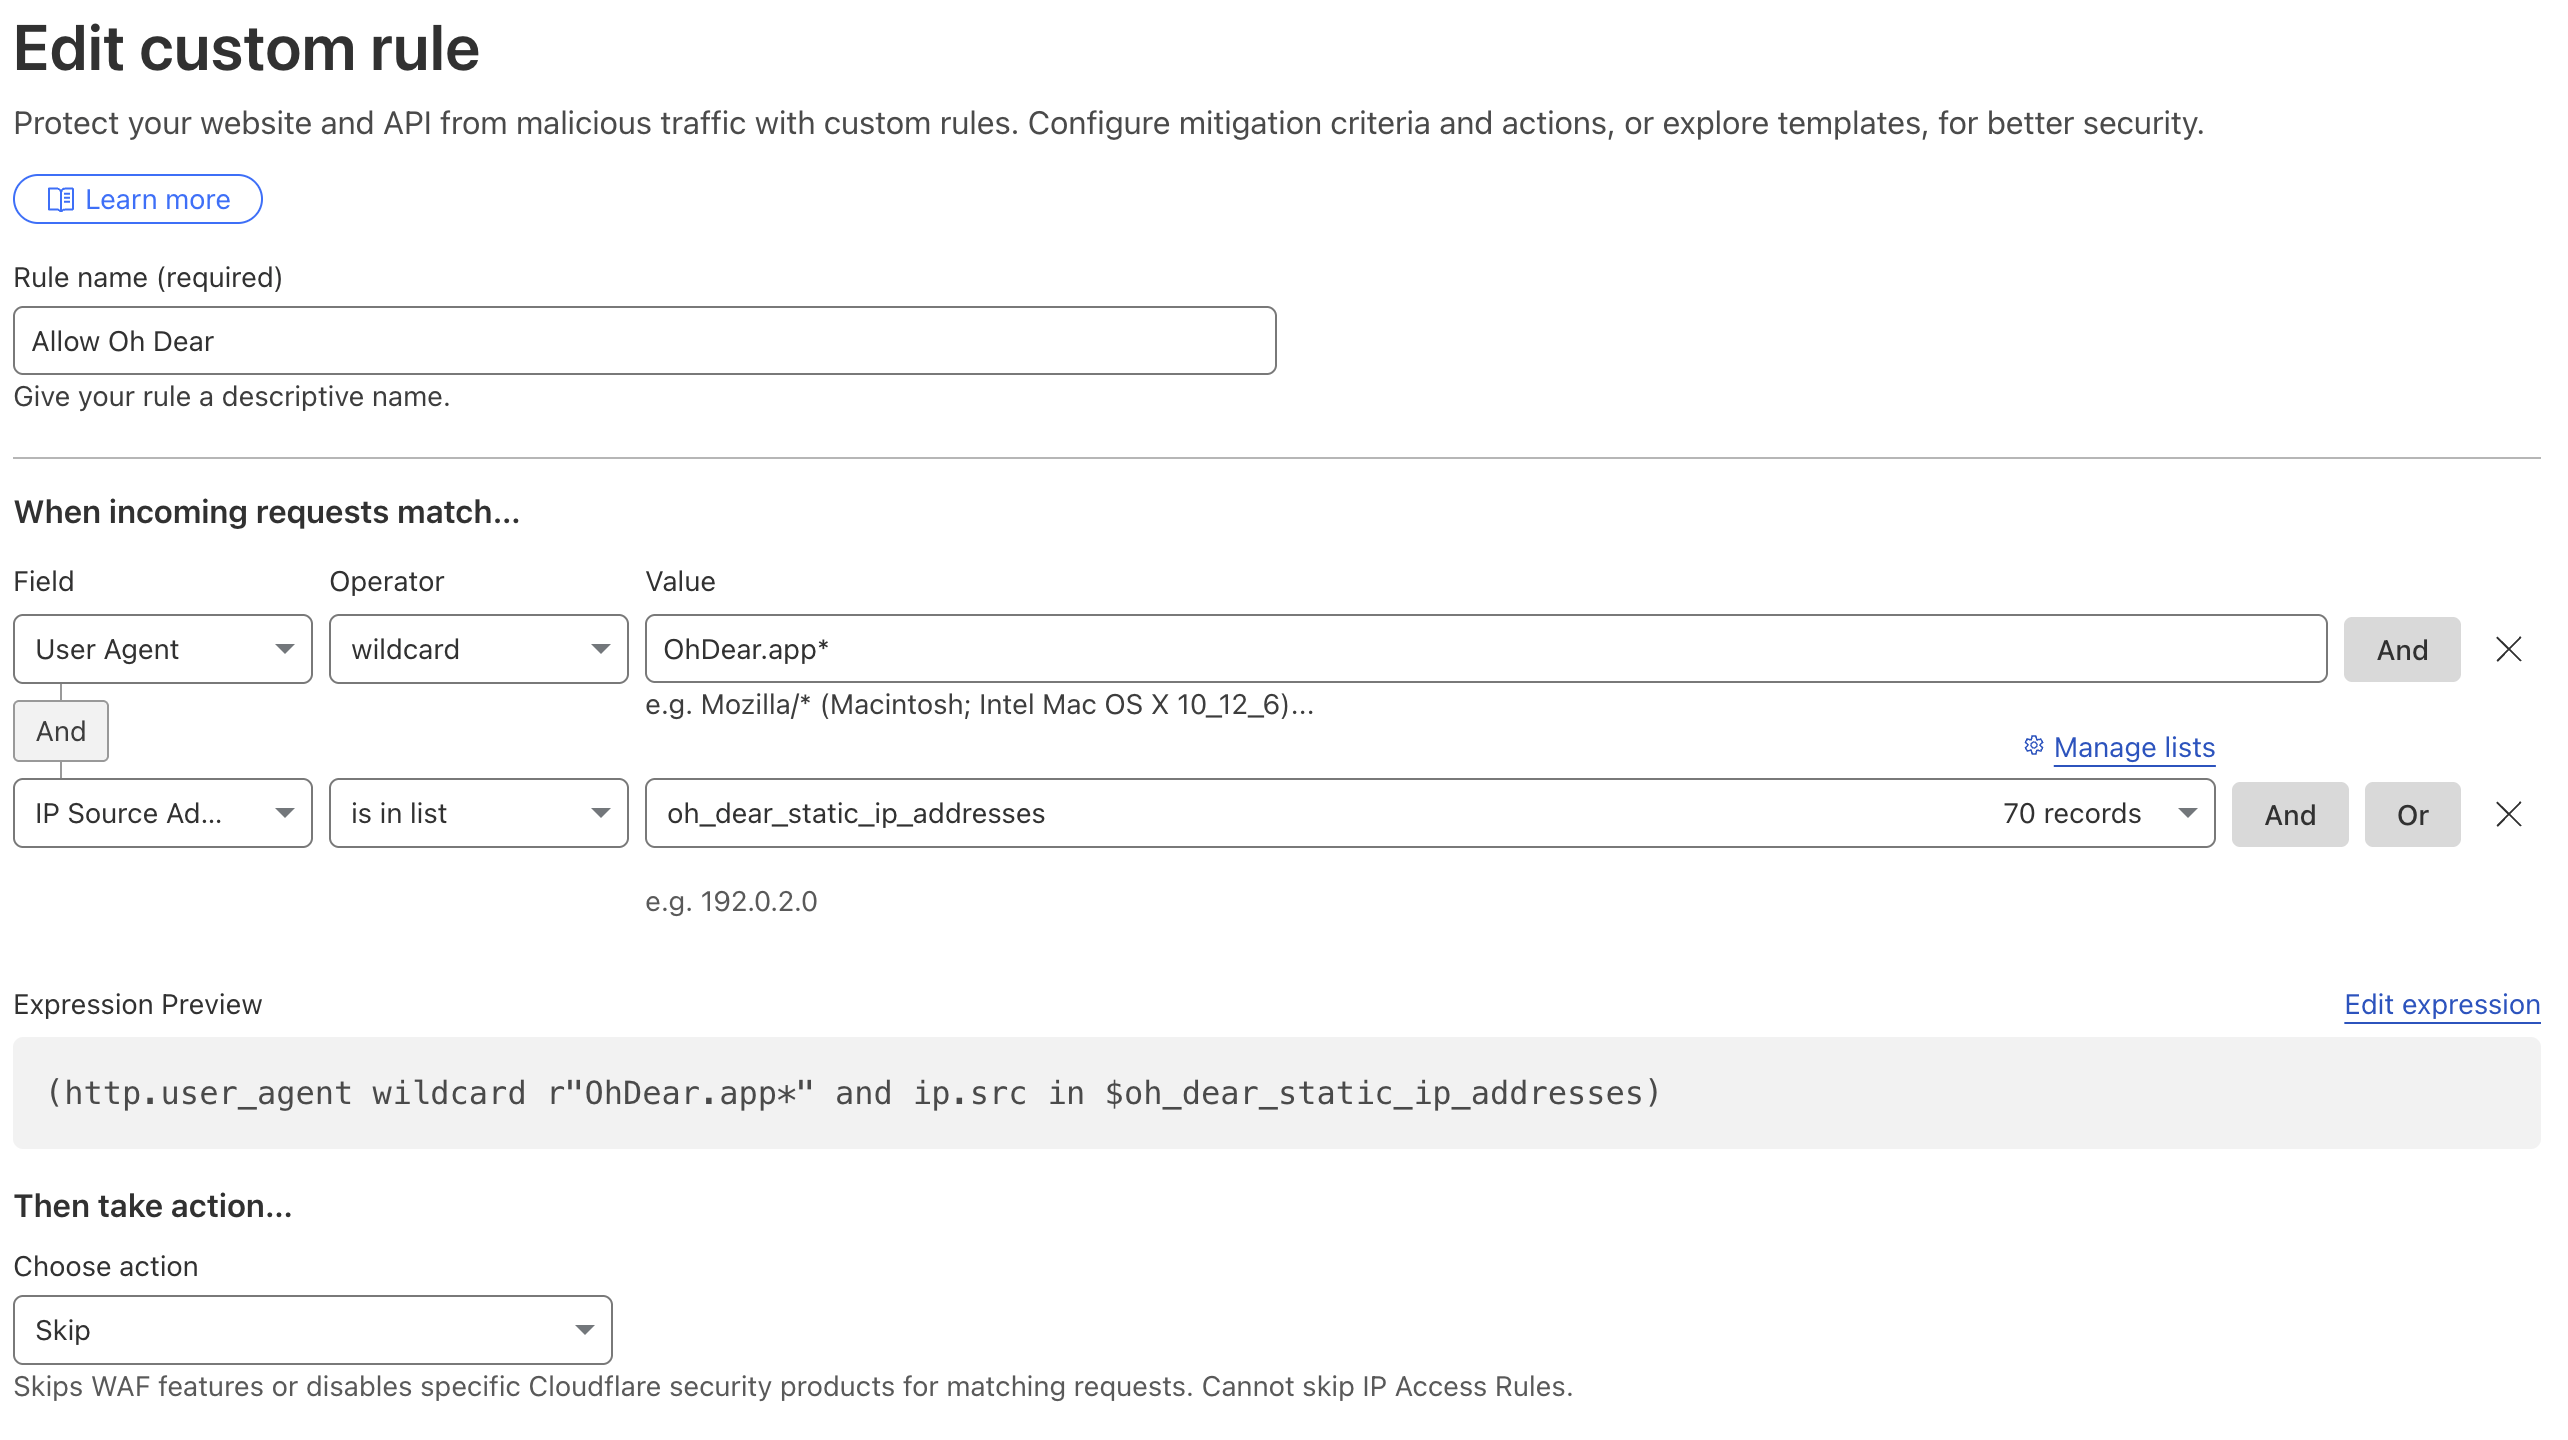
Step 4: Choose the action #
At the bottom of the page, under Then take action, pick Skip. Then select every rule below that should be skipped for our traffic (typically your WAF rulesets, rate limiting, and bot fight mode).
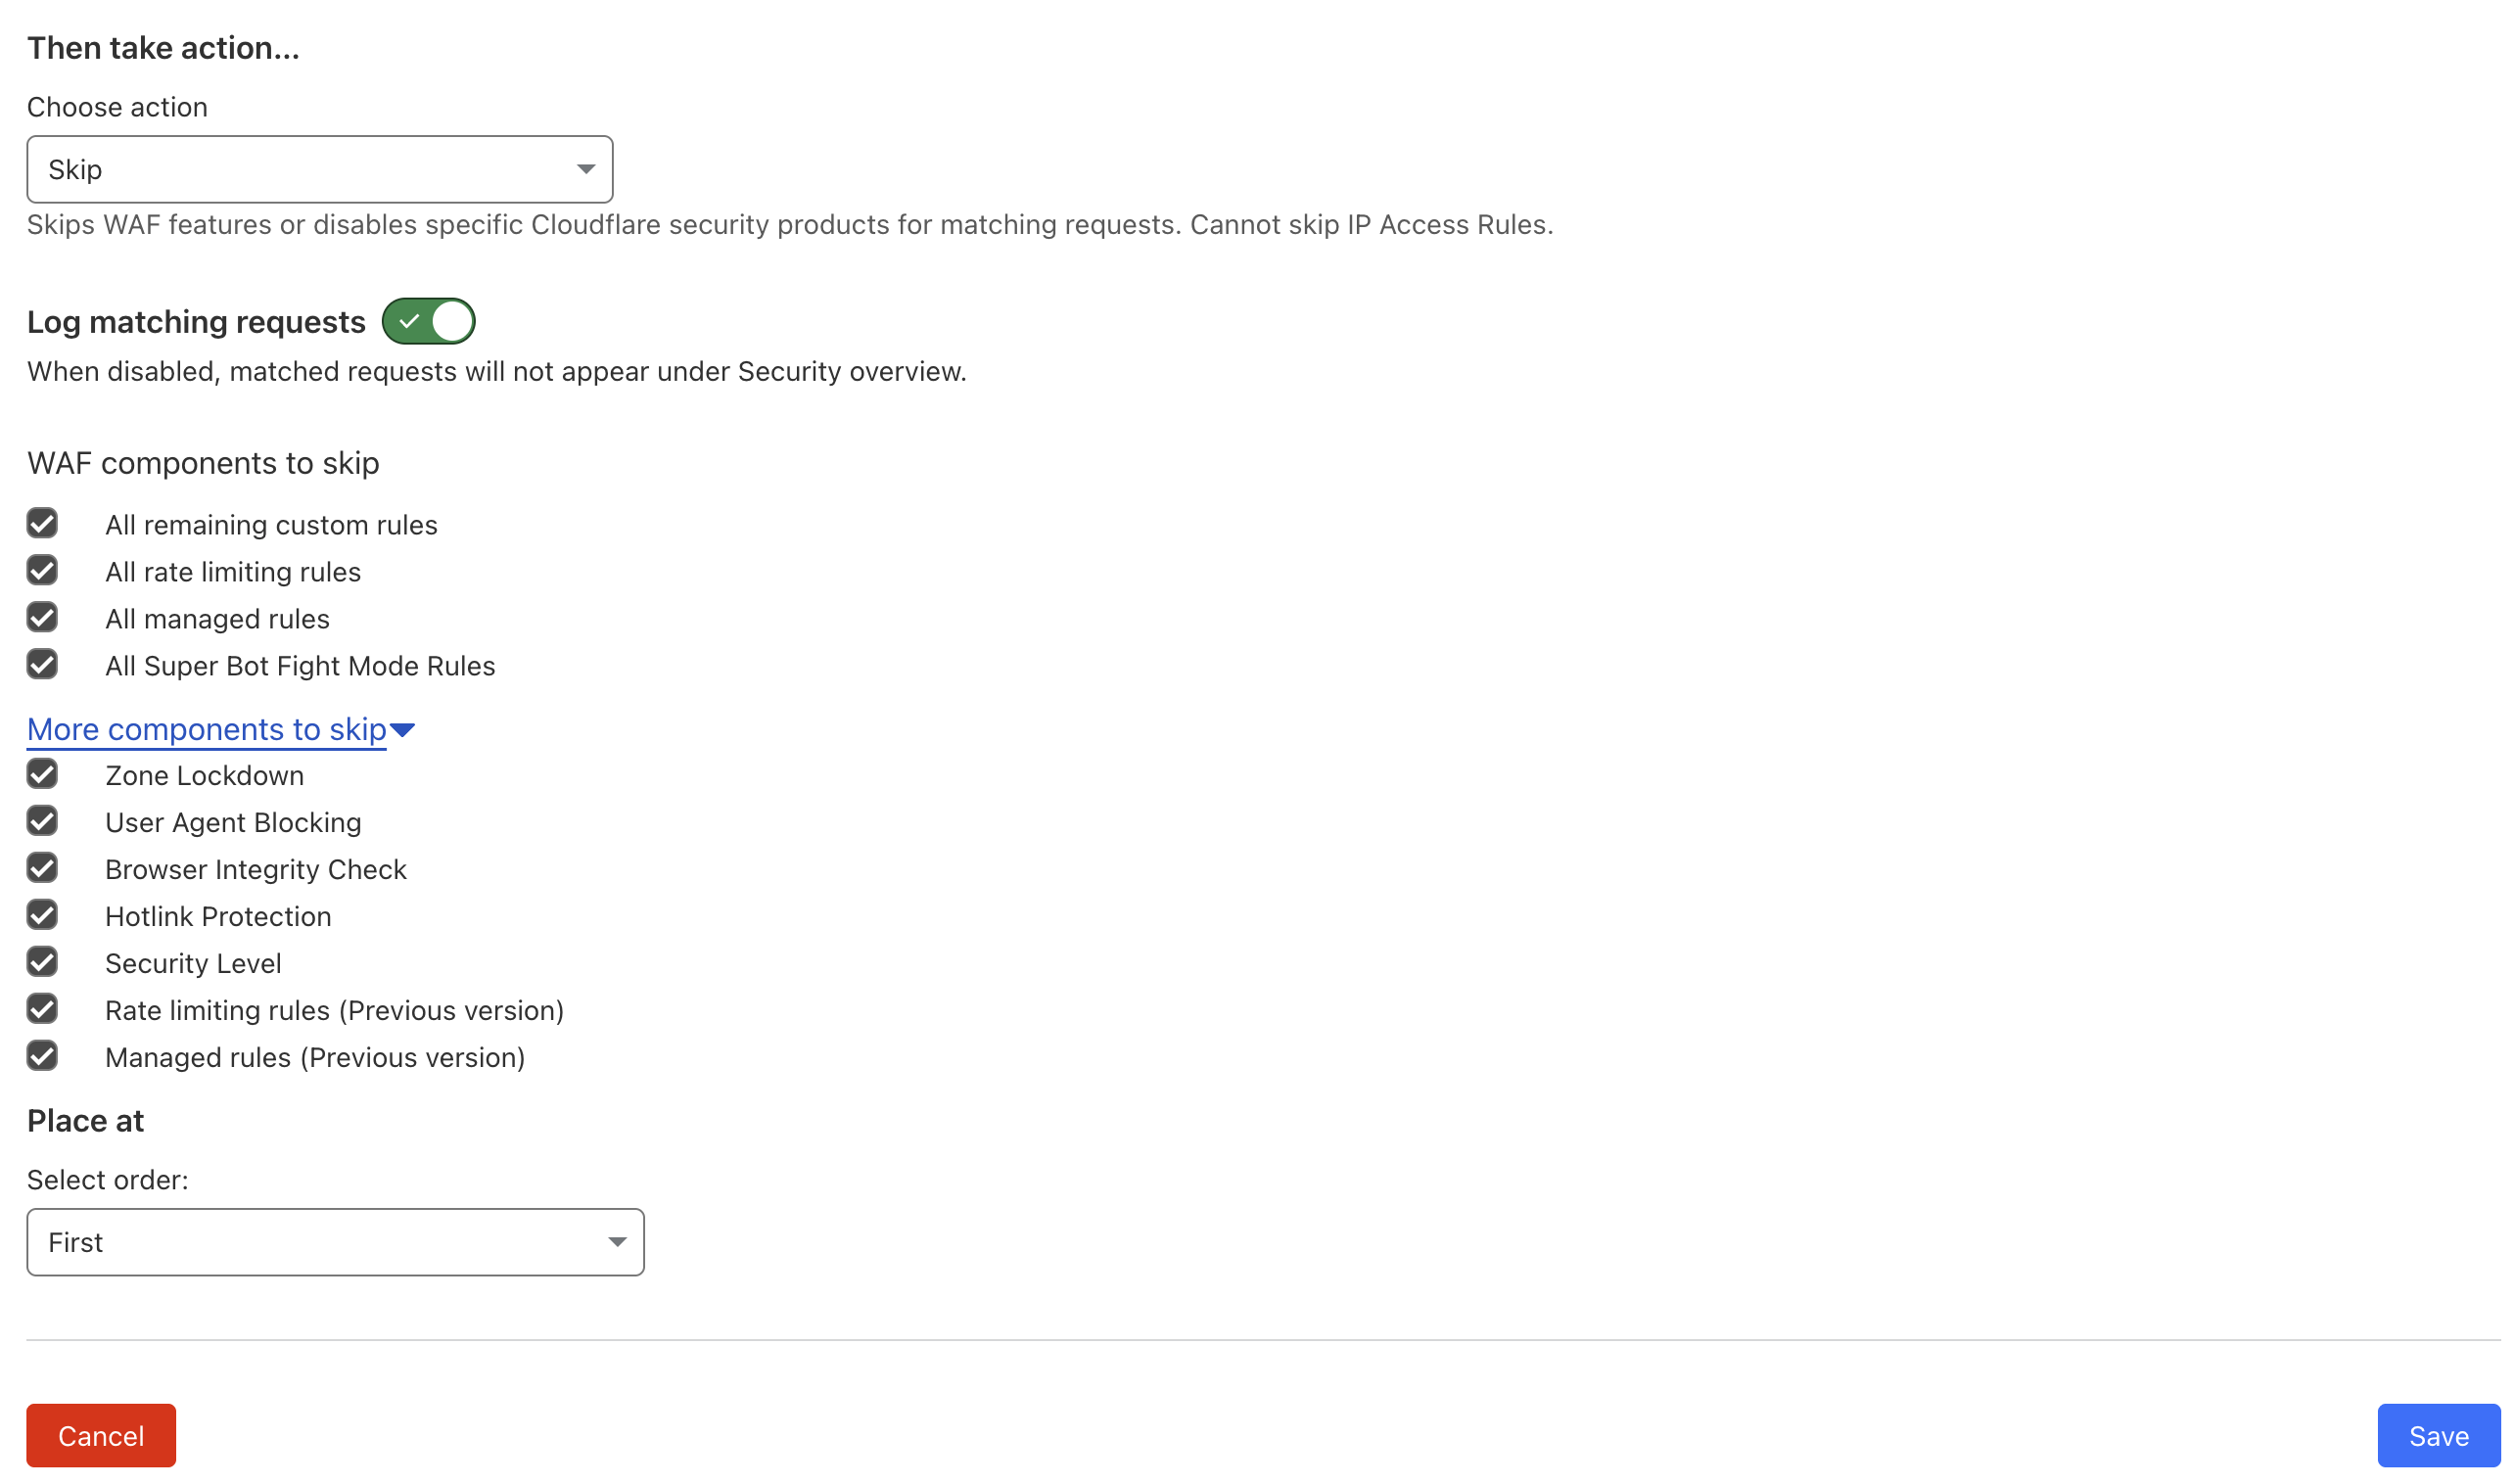
Save the rule, and you're done. Oh Dear's checks will now bypass your Cloudflare protections, and the next uptime run should come through cleanly.
If you're still seeing blocked requests after the rule is active, reach out with the timestamps and we'll help you track down what's still filtering us.