Getting started with notifications
Oh Dear has 2 levels to configure your preferred notifications: on the team-level or the monitor-level.
Team notifications #
Most users will configure their notifications on the team level. Any configuration made here is automatically applied to every site in your account.
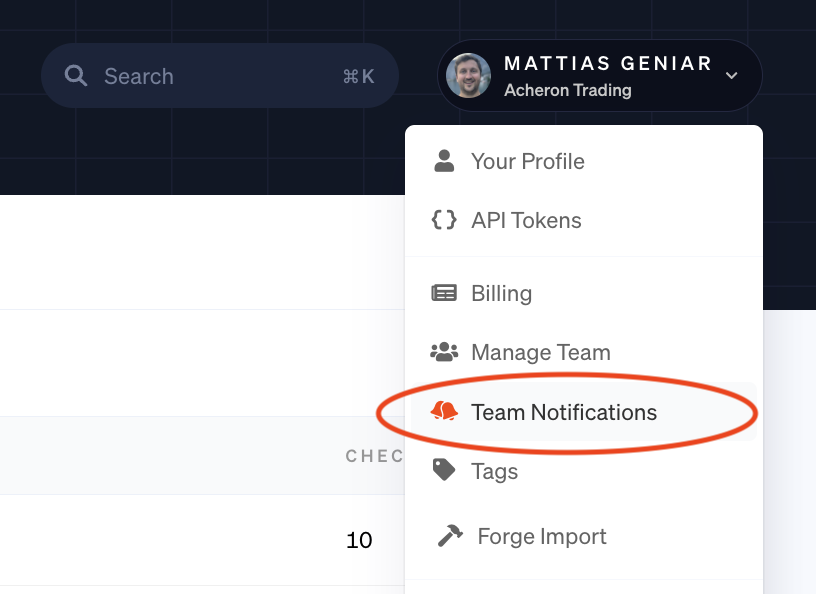
Team-level notification settings are conveniently located in the top-right drop-down menu, under the notifications menu.

Monitor notifications #
Alternatively, you can configure alerts per site too. Click through on each monitor and you'll find the notifications options in the left-side menu.

Notifications configured here will only apply to that monitor and nothing else.
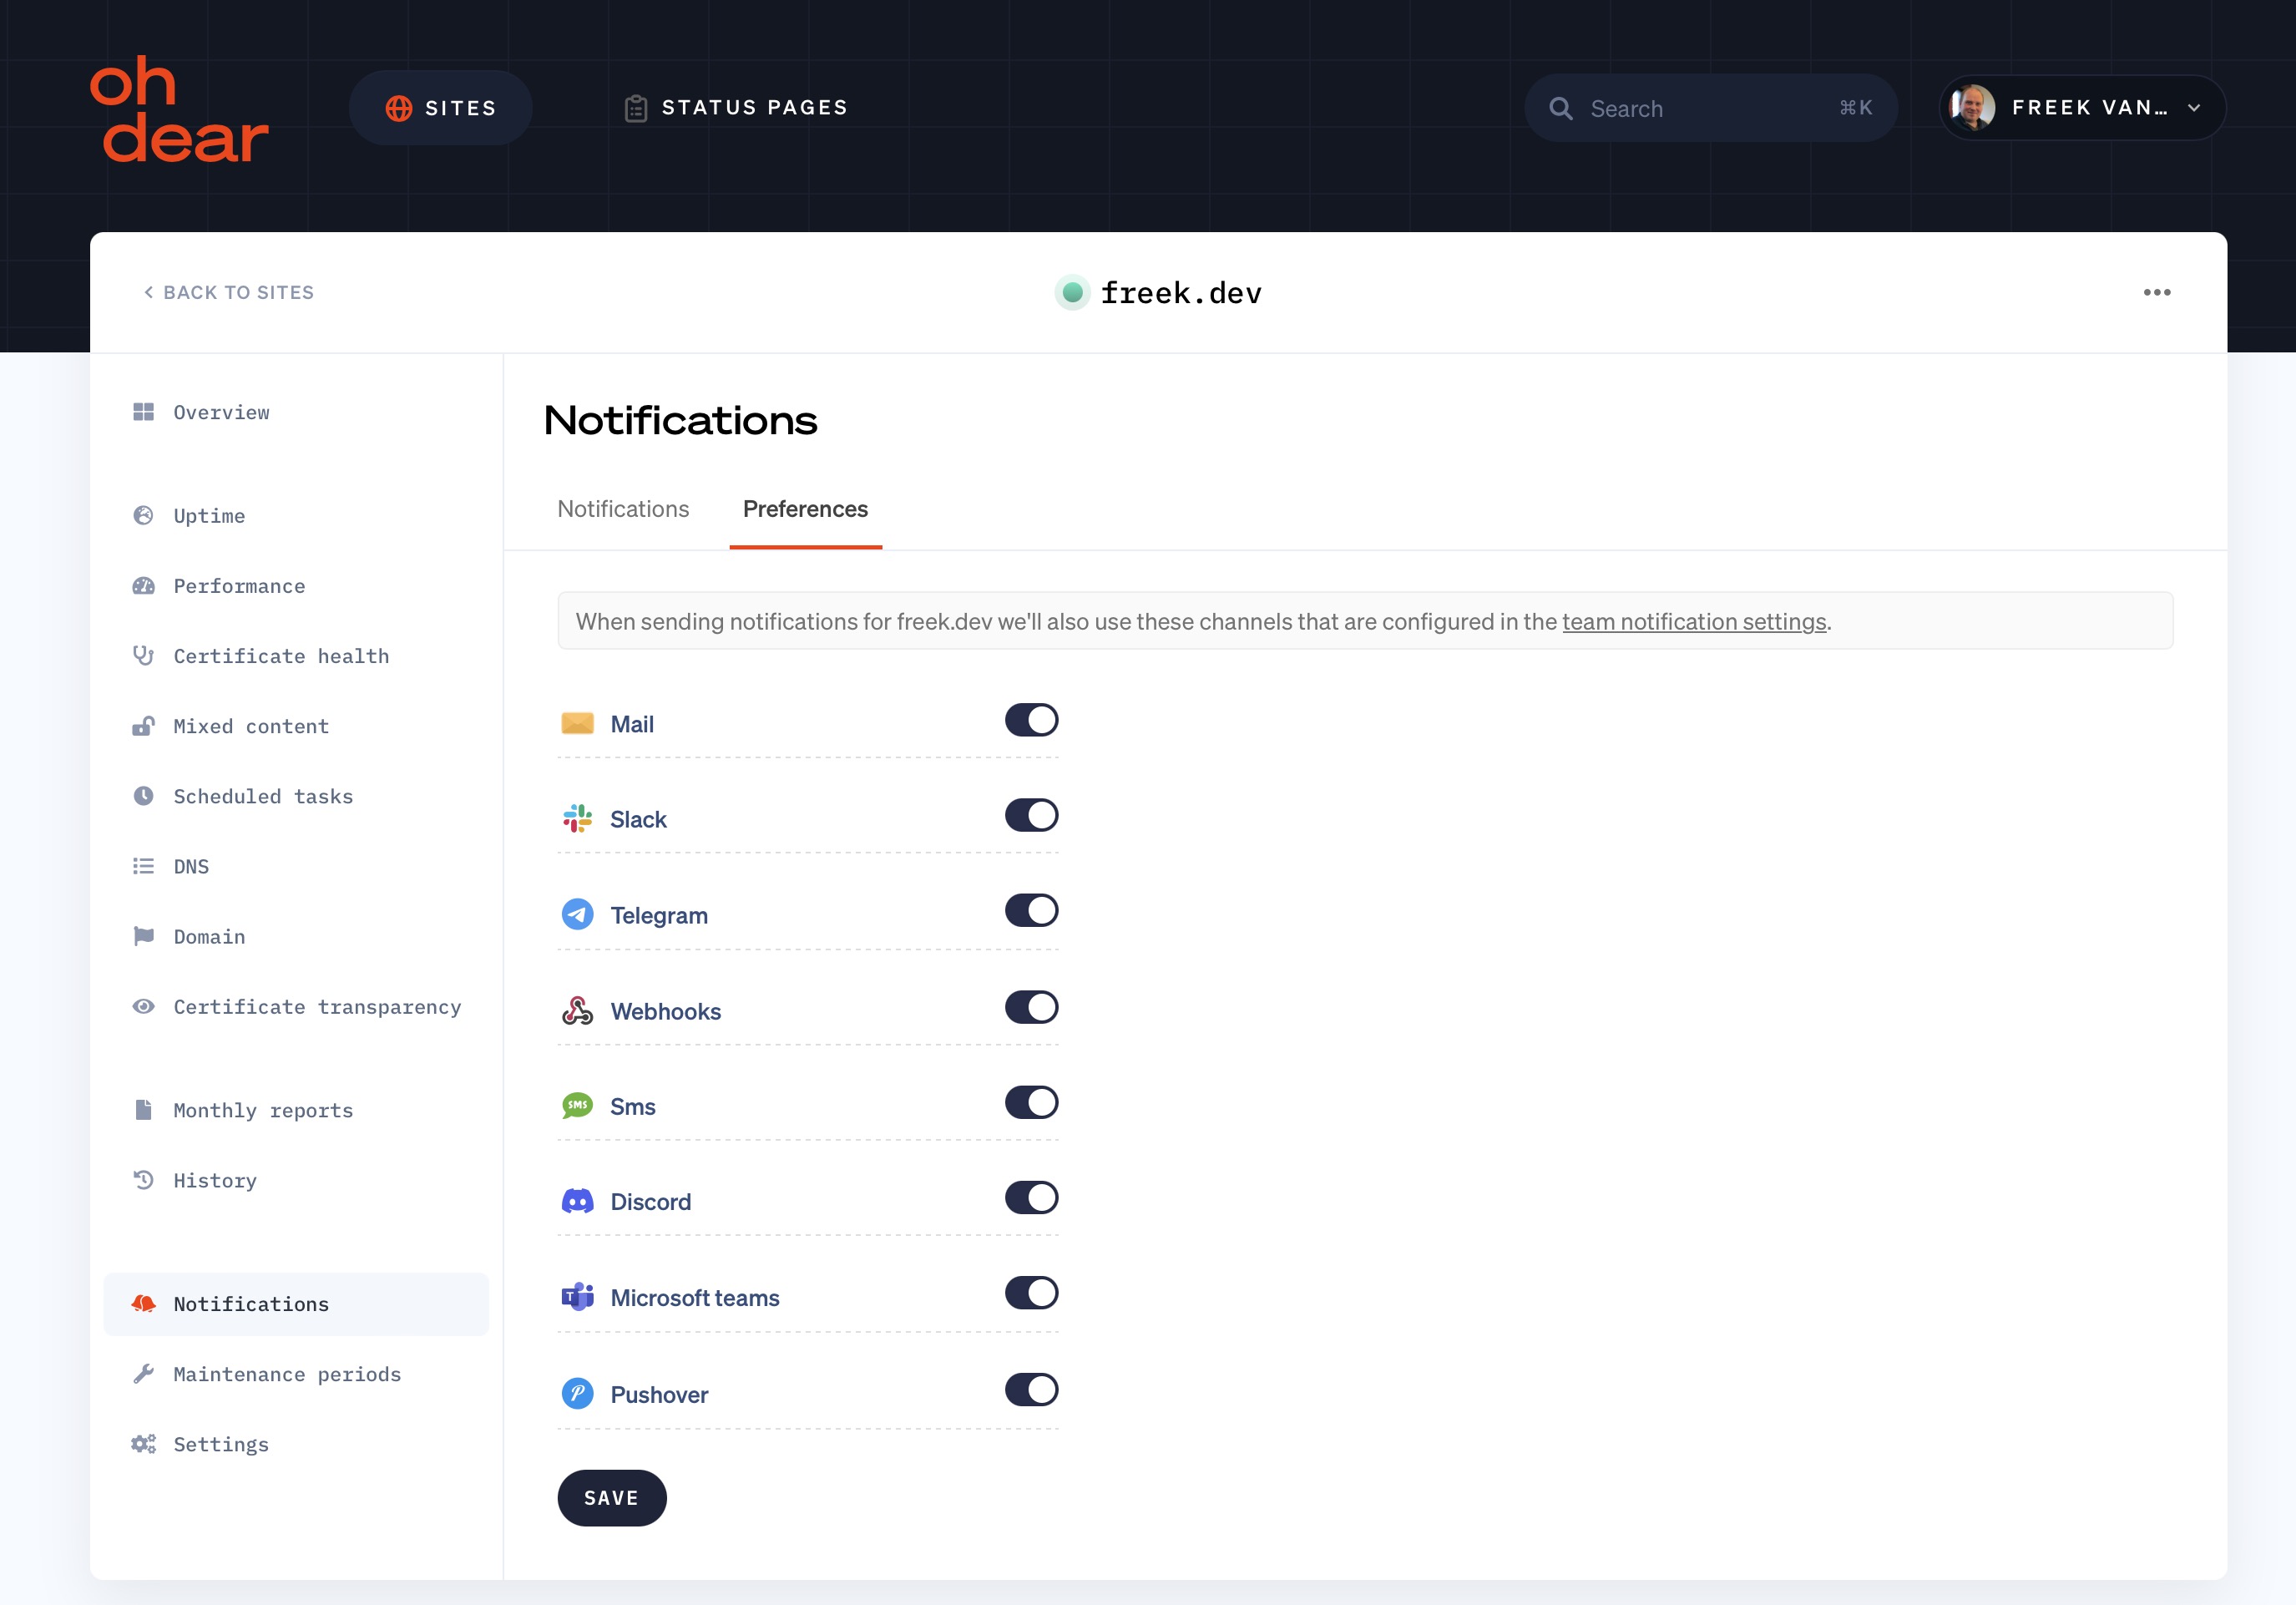
You can, optionally, override the team notifications per site too. This allows you to create a notification channel that is unique to that monitor, without inheriting any of the team-level notifications.

You'll find this option on the Preferences tab of the monitor-level notifications.
Tag notifications #
Oh Dear allows you to configure notifications based on tags applied to your monitors. This feature provides a flexible way to manage notifications for groups of sites with similar characteristics or purposes.
Setting up tag notifications
- First, ensure you have applied some tags to your monitors. You can do this in the monitor settings for each individual site.
- Navigate to the tag settings (found in the top-right drop-down menu under "Tags").
- You can then create a new tag or manage created tags.
- Click on "Notifications" next to the tag you want to configure.
- Configure the notification channels and events, similar to how you would for team or site-level notifications.
When an alert event occurs for a site, Oh Dear checks if the monitor has any tags with notification rules attached. If a match is found the notification is sent according to the settings for that tag rule. A site can match multiple individual tag notification rules. In this case, notifications will be sent based on all matching rules.
Tag groups
You can also create 'tag groups'. Tag groups are perfect for larger teams - apply notification settings to multiple related tags at once.
To set up a tag group:
- Go to the "Tag Groups" section at the bottom of your tag settings
- 'Create' a new tag group with a label and add the relevant tags to it
- You can now attach notification settings to the tag group.
Tag group notifications are applied when a site has all of the tags in the group. For example:
Label: 'Client production sites'
Tags: client, production
Only sites with both the client and production tags will receive the configured notifications.
Wildcards
Oh Dear supports wildcard matching for tag groups. This is particularly useful when you have a naming convention for your tags and want to create rules that apply to a range of tags.
For example:
- A wildcard tag
production*would match tags likeproduction-eu,production-us, etc. *-productionwould match tags likeclient1-production,project2-production, etc.
To use a wildcard:
- When setting up a tag notification, enter your wildcard pattern (e.g.,
production*) in the tag selection field. - Oh Dear will interpret this as a wildcard and match it against your existing tags.
Tag notifications provide a powerful way to organize and manage your alerts, especially when dealing with a large number of sites with different requirements. By effectively using tags, tag groups, and wildcards, you can create a notification system that's both flexible and precise.
Examples
You can arrange your tags in any way that suits your team's workflow. Here are some examples of how you might structure your tags and groups:
- Site 1:
production,region-eu,client,spatie,app - Site 2:
staging,region-us,internal,marketing - Site 3:
staging,region-us,internal,app - Site 4:
staging,region-eu,internal,app
Tag group: Client - production => [production, client]
Tag group: Internal - development => [internal, staging]
Configuring notifications #
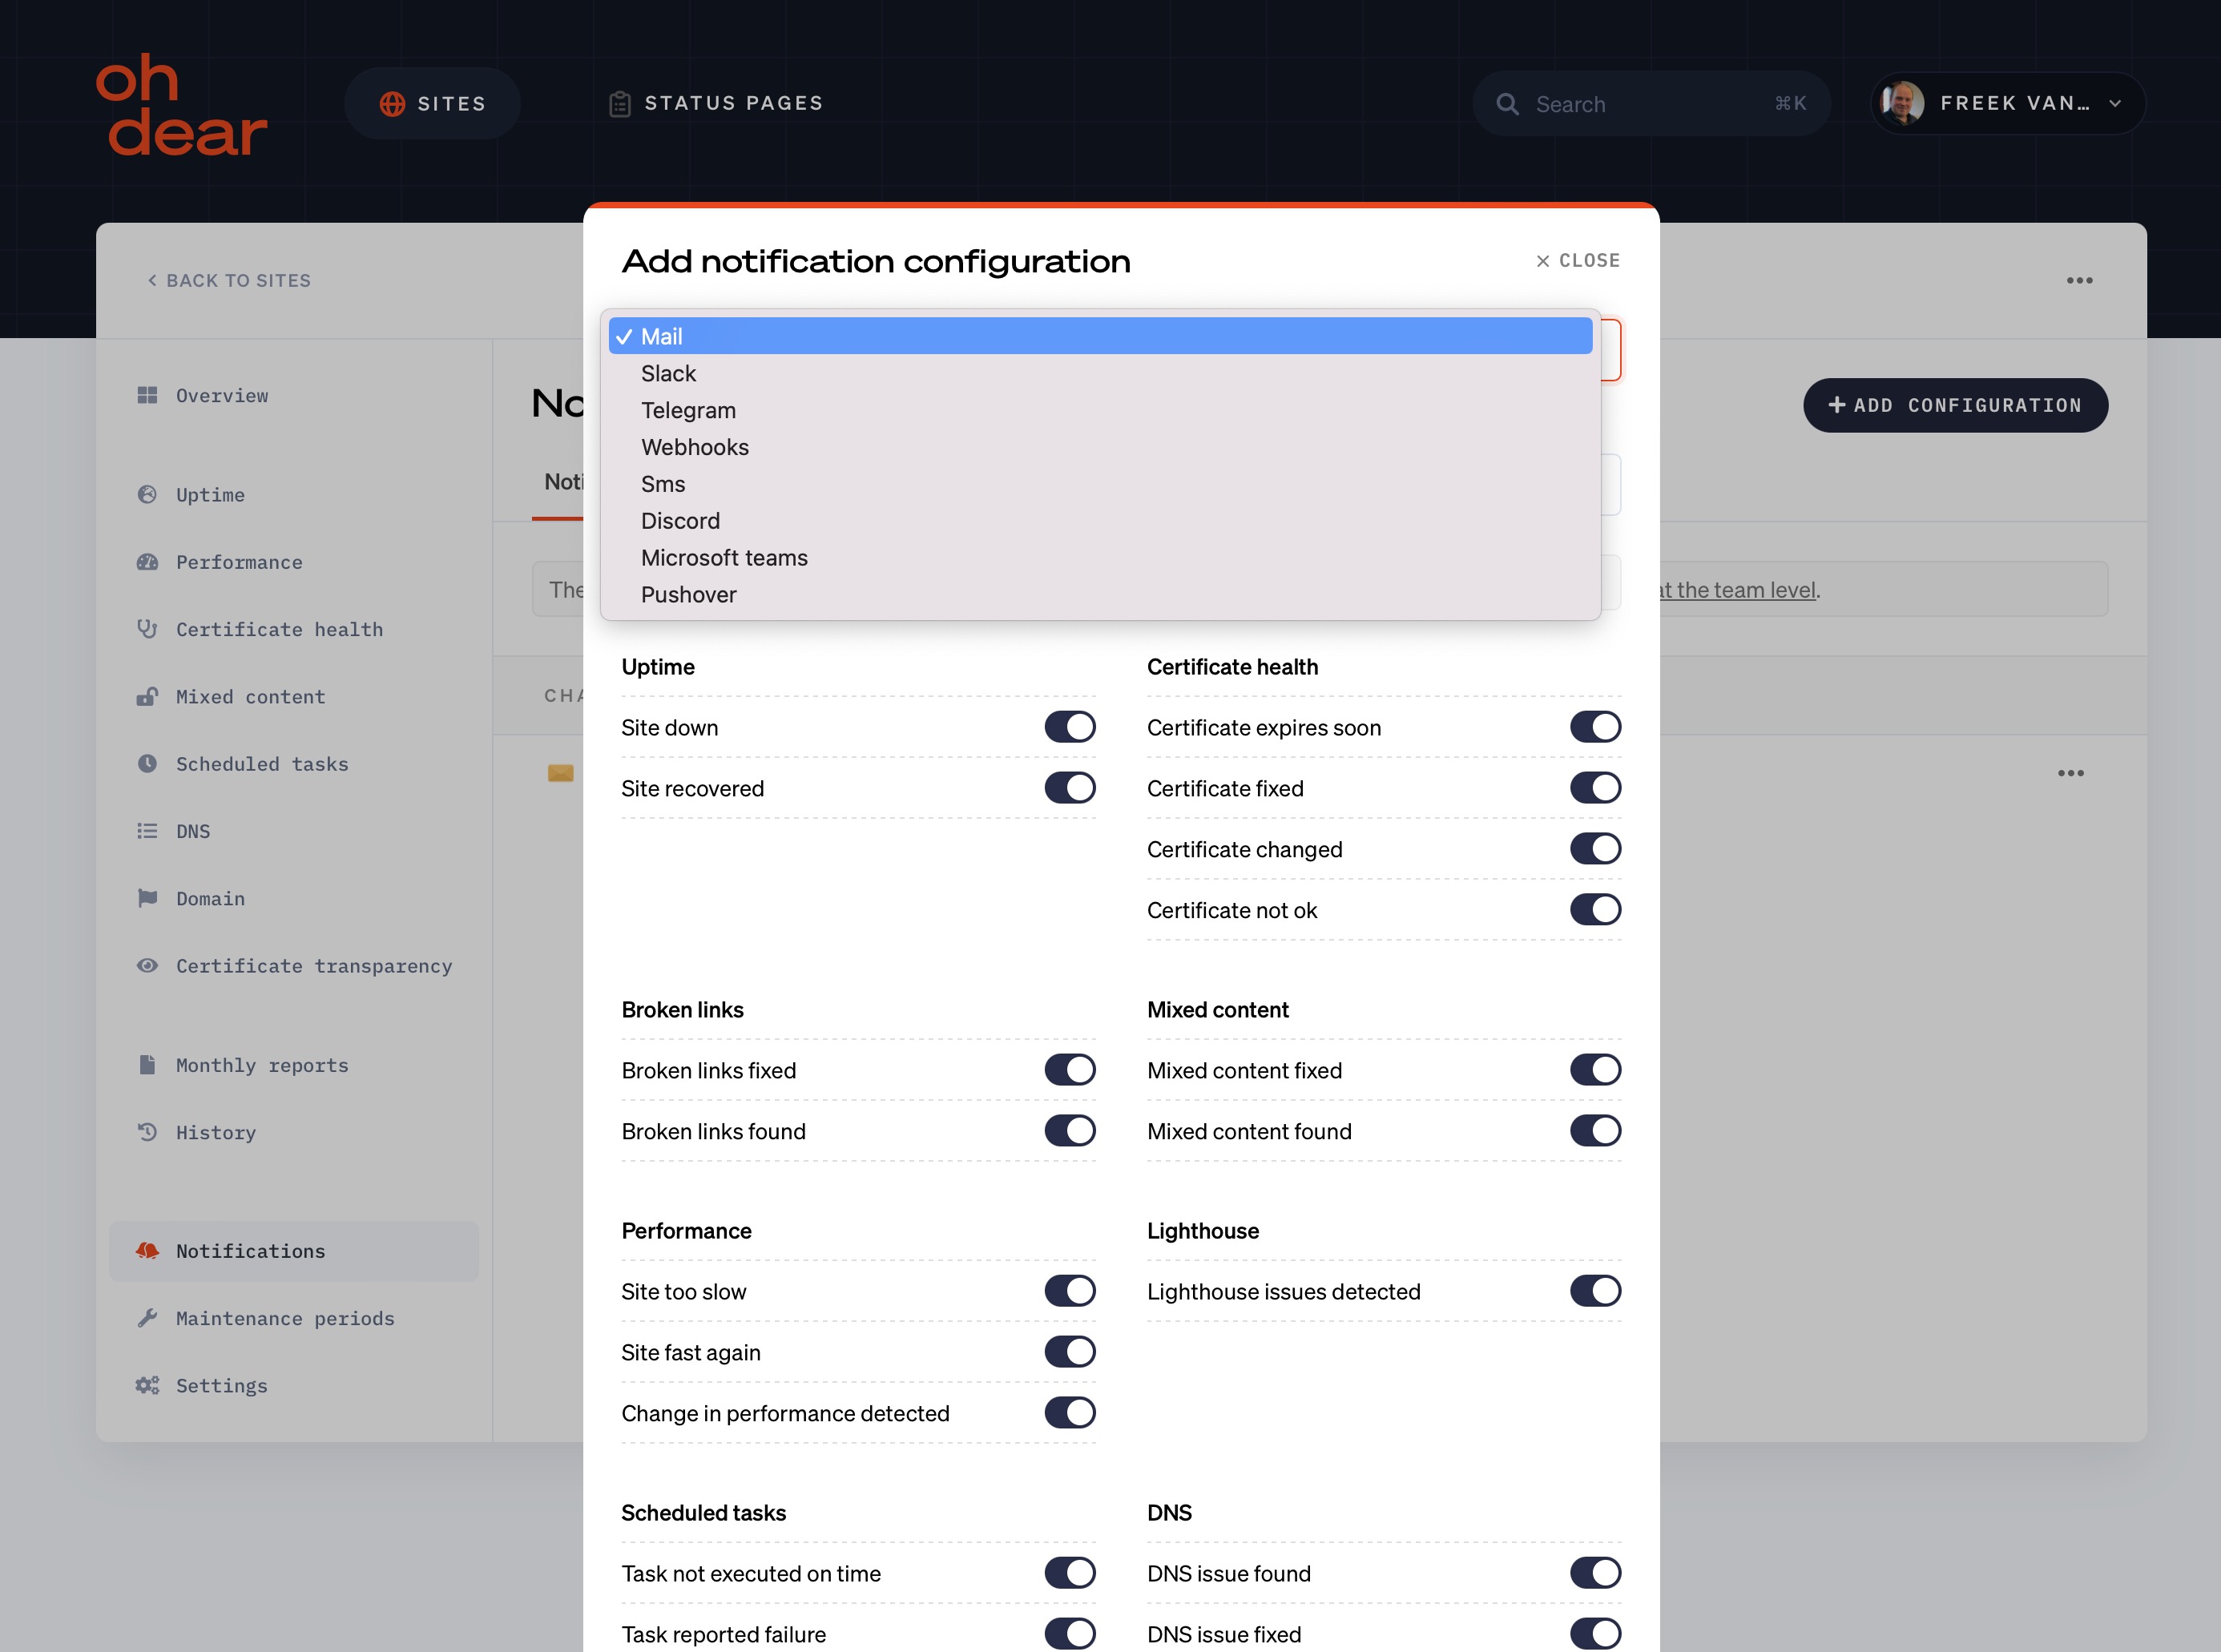
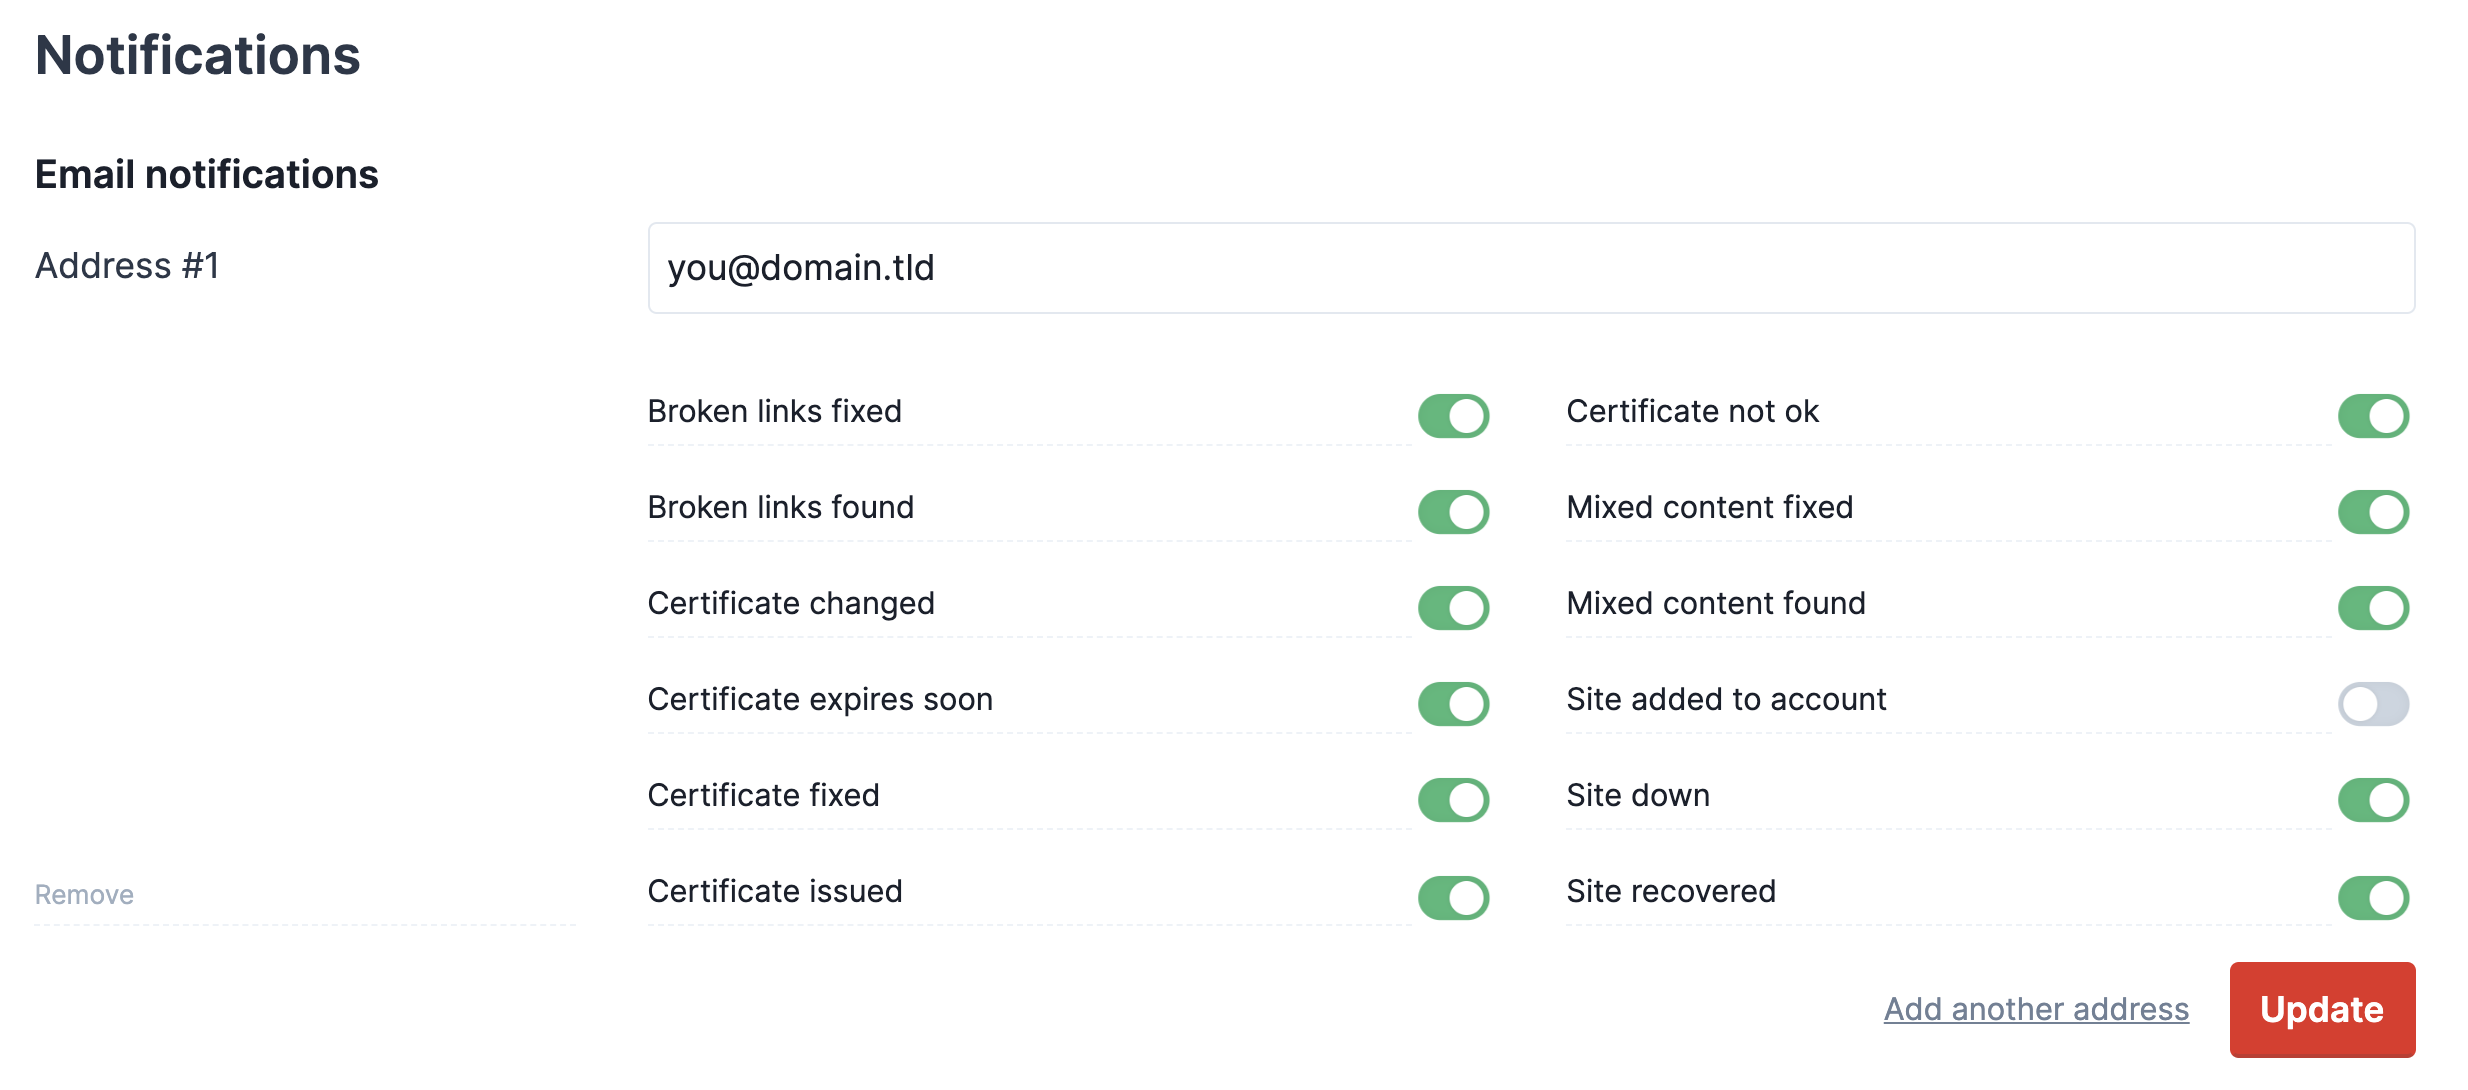
Once you're on the notification settings screen, you'll see a series of blocks similar to this one. In terms of functionality, both team and site level notifications behave the same.
Each block follows the same notification flow:
- Determine where events are sent to
- Determine what events should be sent

Each checkbox can be toggled to enable or disable that particular event from being sent to that channel.
You can add as many channels as you'd like. In the example of the email address, you can add multiple email addresses that each receive different events.
Feel free to reach out via [email protected] or on X via @OhDearApp if you have any other questions. We'd love to help!